Features
Interface in action. Drag and Drop the light. Click on the render to position and scale using the LightPaint® system.
A User Interface for 3D Lighting
HDR Light Studio puts you in the driving seat of the 3D lighting process. The user interface contains tools and lighting content that allow you to explore and build lighting designs intuitively and quickly. Drag and drop lights and click on the 3D render to manipulate their position and properties - we call this the LightPaint® system.
Video shows starting HDR Light Studio in a live-link, lighting the shot, saving the lighting, and rendering the shot in Cinema 4D.
Live Link to your 3D Software
HDR Light Studio is a seamless extension to your 3D software. As you light the shot in the HDR Light Studio interface, the plug-in creates and syncs the lighting in your 3D software. The HDR Light Studio project is embedded in the 3D scene file and kept in sync with every change. Each time you start HDR Light Studio, this project loads to edit the lighting.
Plugins Available For:


Video showing a watch being lit with Area Lights. LightPaint® is used to position the lights.
HDR Textured Area Lights
Area Lights are 3D rectangular lights with the appearance texture created in HDR Light Studio mapped onto its surface. Area Lights are used to light and reflect in specific parts of your scene.
When using Area Lights in HDR Light Studio, the plug-in handles everything in your 3D software - building each area light/emitter with RGB and alpha textures applied in the correct method for your selected renderer, moving and scaling area lights, and updating the textures as the appearance is changed.
Video shows the Scrim Light appearance being edited. LightPaint® is used on the watch to move the light effect within the scrim.
Light Appearance
When lighting shiny reflective objects like jewelry, products, cars, and packaging - it is essential to have complete control over the appearance of each lighting element. HDR Light Studio provides unparalleled control over the appearance of lights, allowing you to craft highly sophisticated lighting designs that improve and enrich the visual quality of your 3D renders.
Content can be blended to further control the appearance of your lights.
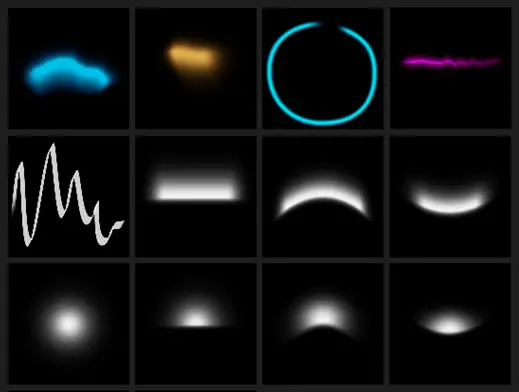
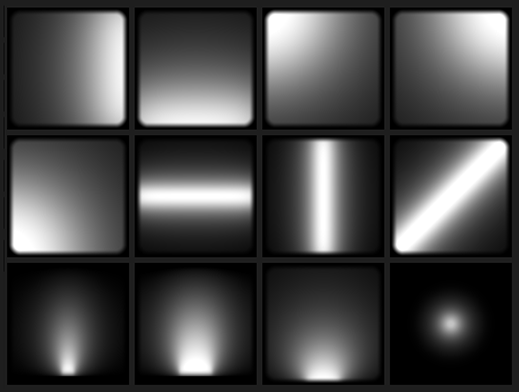
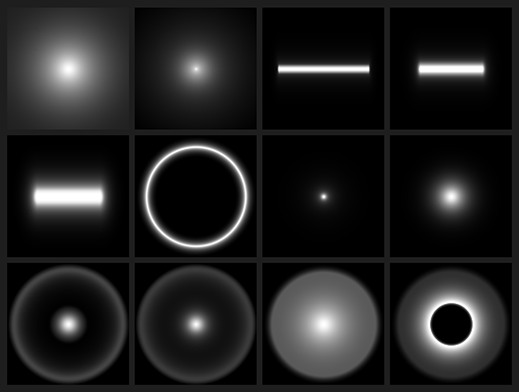
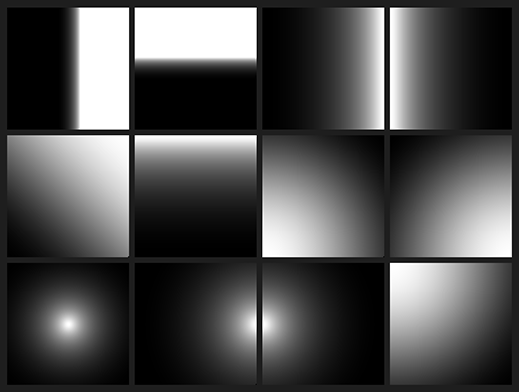
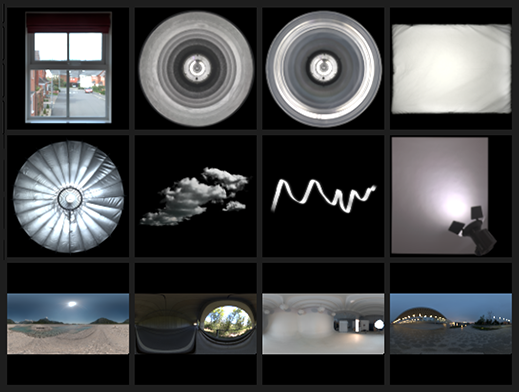
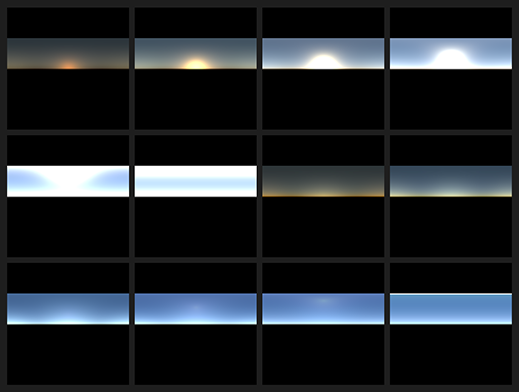
Light Content Types
Video shows editing a loaded HDRI map - adding lights and a blocker.
Edit HDRI Environments
HDR Light Studio is a creative playground for editing HDRI maps. You can add lights and blockers, make local color and saturation adjustments, add diffusion and motion blur filters, and even mix elements of different HDRI maps. HDR Light Studio gives you more control over image-based lighting in your 3D software.


Example 1
Example 2


Example 3


Example 4
HDRI Before & After Comparisons
HDR Light Studio enables live editing and enhancement of photographed HDR locations. Rather than accepting the imperfections of a shot location, take full control to perfect the lighting and reflections in your renders.
Photographers work hard on real locations to control light using reflectors, diffusers, and blocking unwanted reflections. Now you have the same level of control in CGI. Slide the comparison bar to see the transformations possible with HDR Light Studio.
The Preset Library

The Preset Library panel contains a wealth of lighting content to add to your lighting designs, including rigs, HDRI maps, HDR light textures, and other light appearances.
Video showing hovering cursor over Presets to audition them on the current light
Audition
The Audition mode lets you hover the cursor over a Preset to instantly and temporarily apply it to the currently selected light. If you like the look of the preset, apply it to the light with a double click. Being able to audition presets dramatically speeds up the lighting exploration process. You can audition HDRI maps, lights, colors, and more.
Video showing the application of Rig Presets, loading and replacing the current lighting design.
Select and Refine with Rigs
A Rig Preset provides a great starting point for your lighting design. Rigs are complete HDR Light Studio lighting designs that can be loaded and edited. A Rig provides the benefit of picking an HDRI map off the shelf but with the benefit of it being fully editable to compliment your scene.


A selection of example Rigs that come with HDR Light Studio
Video showing switching between Light Looks within the HDR Light Studio project.
Explore and Compare with Light Looks
The lighting process is about creativity and experimentation. There are so many lighting decisions to make and so many different approaches you can try out. Light Looks allows you to easily save, compare, duplicate, and edit multiple lighting designs in a single HDR Light Studio project.
Video showing merging lights into a Composite light and showing a Composite light being used to mask a HDRI map.
Group, Mask & More - Composites
Multiple lights can be merged into a single Composite Light. Use Composites to:
- Control a group of lights (e.g. brightness, position)
- Take control of lights in existing HDRI maps
- Combine regions of multiple HDRI maps
- Clone and move areas of the HDRI map
- Create advanced lighting effects
- Apply a Filter

Filters
Filters are effects that can be applied to Composite Lights.
Video showing mirroring lighting designs and creating a water reflection effect.
Reflection Filter
Easily create symmetrical lighting designs around an axis on the HDRI. The reflection direction can be vertical or horizontal. You have control over the brightness and alpha of the reflection. A blend control allows a soft transition over the axis. The reflection filter is ideal for speeding up studio lighting for products and pack shots. Plus, it has creative applications for generating floor reflections and water effects.
Video showing applying diffusion blur to lighting designs.
Diffusion Blur
Diffusion Blur mimics the diffusion of light through a material like tracing paper or cloth. Spreading and softening the light.
Diffusion key features:
- Real-time - change settings with instant feedback.
- Energy Conserving - preserving the amount of light in your HDRI map.
- Spherical option for HDRI Maps.
- Planar option for Area Lights.
Video showing applying motion blur to lighting designs for automotive rendering.
Motion Blurs
HDR Light Studio offers 2 filters for motion blurring of HDRI maps. There is a simple linear motion blur. Or the advanced motion blur adds options to curve and tilt the motion path, add a noise profile, and use a second input image to scale the speed of motion at each pixel on the HDRI map.
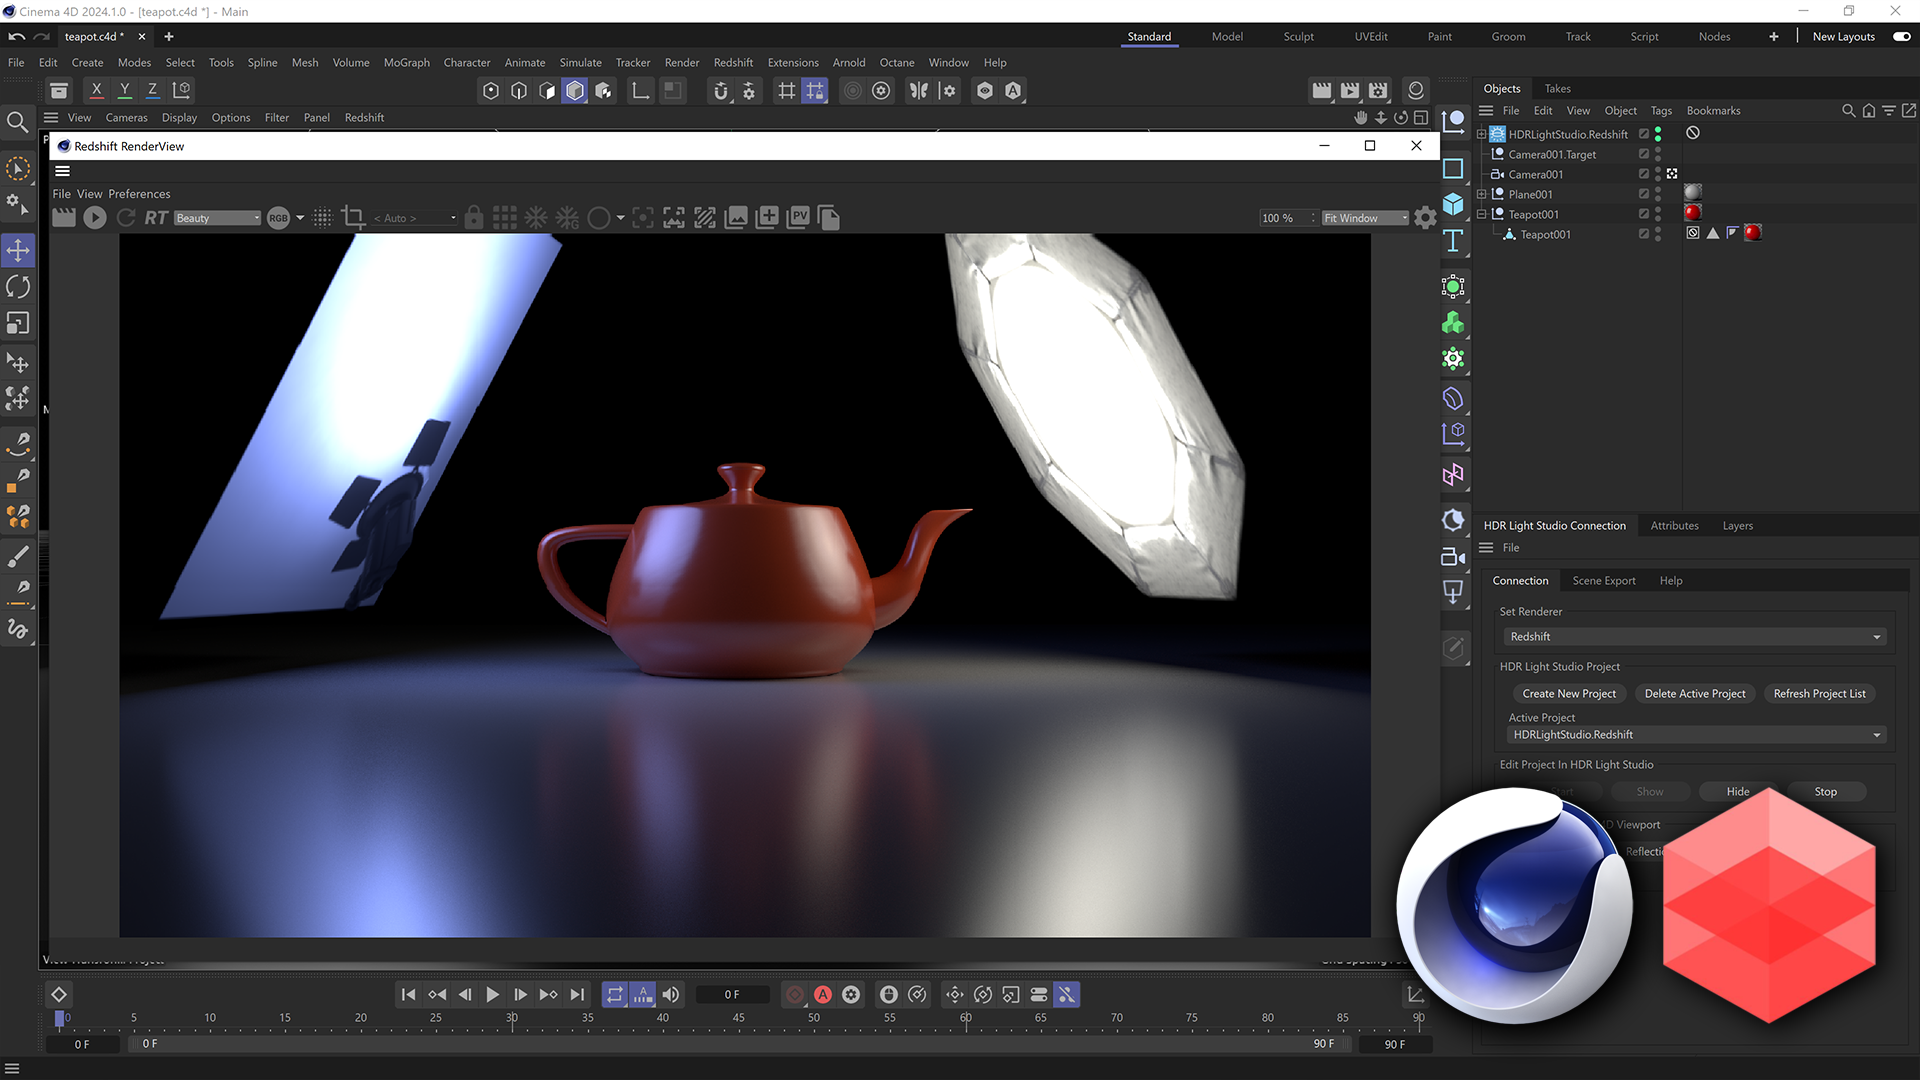
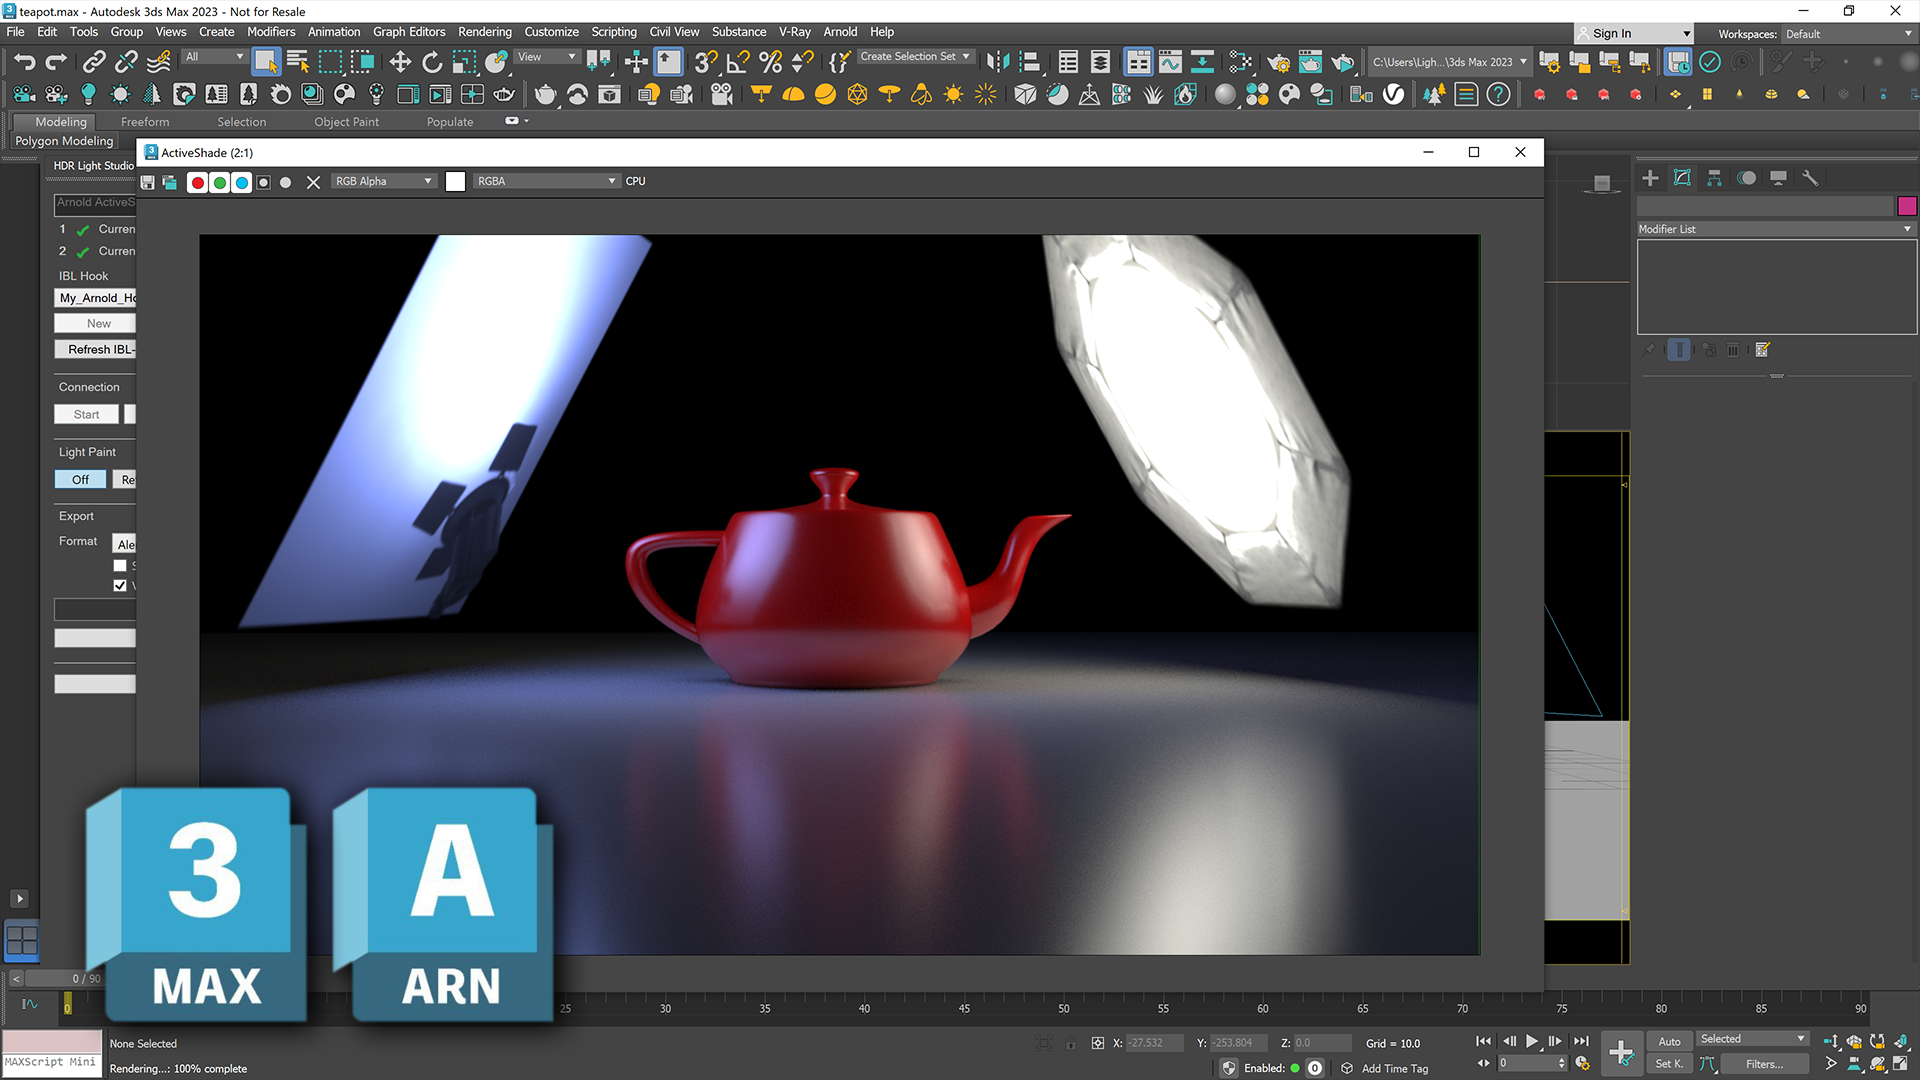
HDR Light Studio lighting moved from 3DS Max (Arnold) to Cinema 4D (Redshift).
Consistent Portable Lighting Format
Matching lighting setups between different 3D software and renderers can be challenging. With HDR Light Studio, it's easy to save and load a lighting project in different 3D software, or switch renderers, and have a lighting design that produces consistent lighting results. A helpful example is lighting a shot in your primary 3D modeling software, like 3ds Max, Cinema 4D, or Blender, and then moving that scene into Unreal or Omniverse, where you want the same lighting setup.


VFX Industry Standards
HDR Light Studio software runs on Windows, macOS and Linux. No special hardware is required, such as specific graphics cards or drivers. HDR Light Studio incorporates many VFX industry standards including: OpenImageIO, OpenEXR, OpenColorIO (supporting ACES Color), Alembic, Collada and Qt for a cross platform user interface.
HDR Light Studio plug-in connections are possible due to our APIs - with a choice of C++, .NET and Python 2.7/3.6/3.7/3.9. If you are interested in connecting your 3D software with HDR Light Studio using our APIs or tailoring one of our existing connections to your studios needs, please do get in touch with support@lightmap.co.uk.