The LightPaint® System
HDR Light Studio / Features / The LightPaint® System
LightPaint mode and method can be changed using the dropdown or keyboard shortcuts.
Introducing LightPaint
The LightPaint® system is a key feature of the HDR Light Studio interface. It allows the adjustments of lights (e.g., position, brightness, size) using cursor input inside the Render Views and Canvas. LightPaint® allows complete control of the lighting without taking your eye away from the shot. Keyboard shortcuts for Lightpaint tools and methods further speed up the workflow.
Positioning Lights in Render Views
The most important use for LightPaint is to position lights via the Render Views. Set the LightPaint tool to Move and then select the LightPaint method for positioning the light.
LightPaint Method: Reflection
A video showing the process of clicking on the render using LightPaint to position the light and reflect it in the clicked area.
Click on the 3D model in the Render View, and the light moves to reflect in that surface location.
Precise positioning of lights seen in reflections is critical for lighting reflective metals and shiny objects. Reflection is also ideal for placing small highlights.

LightPaint Method: Illumination
A video showing the process of clicking on the render using LightPaint to position the light to illuminate the clicked area.
Click on the 3D model in the Render View, and the light moves to illuminate that surface location.
Illumination is best used to light matt materials. The light is moved to face the clicked surface. This location will then receive the most illumination from the light.

LightPaint Method: Rim
Video shows clicking on the render using LightPaint, where the 3D model is ignored, and the light moves to the clicked location in the background.
Click on the Render View; the 3D model is ignored, and the light is moved to the clicked location in the background of your shot.
Place lights towards the edges of the shot to produce a Rim lighting effect on the 3D model, or place lights directly behind your model to create background lighting effects.

LightPaint Method: Shade
A video demonstrates the process of using LightPaint to click on the render, positioning the light, and placing the clicked surface in the shade of the light.
Click on the 3D model in the Render View, and the light moves to place that surface location in the shade of the light.
Shade is best used to help light matt materials. The light is moved to face the opposite side of the clicked surface. This location will then receive the least illumination from the light and will be in its shade.

LightPaint Method: Shadow
A video shows the process of using LightPaint to click on the render, positioning the shadow cast from a light onto the clicked surface.
Click on the 3D scene to position the shadow cast from a light.
After initially using the Reflection or Illumination method to place your light - choose the Shadow method and click on the 3D scene where you want the shadow to be cast. The light position now pivots around the LightPaint position on the model, and light casts its shadow to the clicked location.

Moving the light handle to the edge of the light and position it with LightPaint
Light Handles
Every light has a handle; by default, it's in the middle of a light. Drag in the Light Preview panel to move the light handle around the light. Position the handle at the edge of the light, and LightPaint will move the light using its edge. The handle allows the precise placement of graduations of light on your model. The light also rotates around the handle.
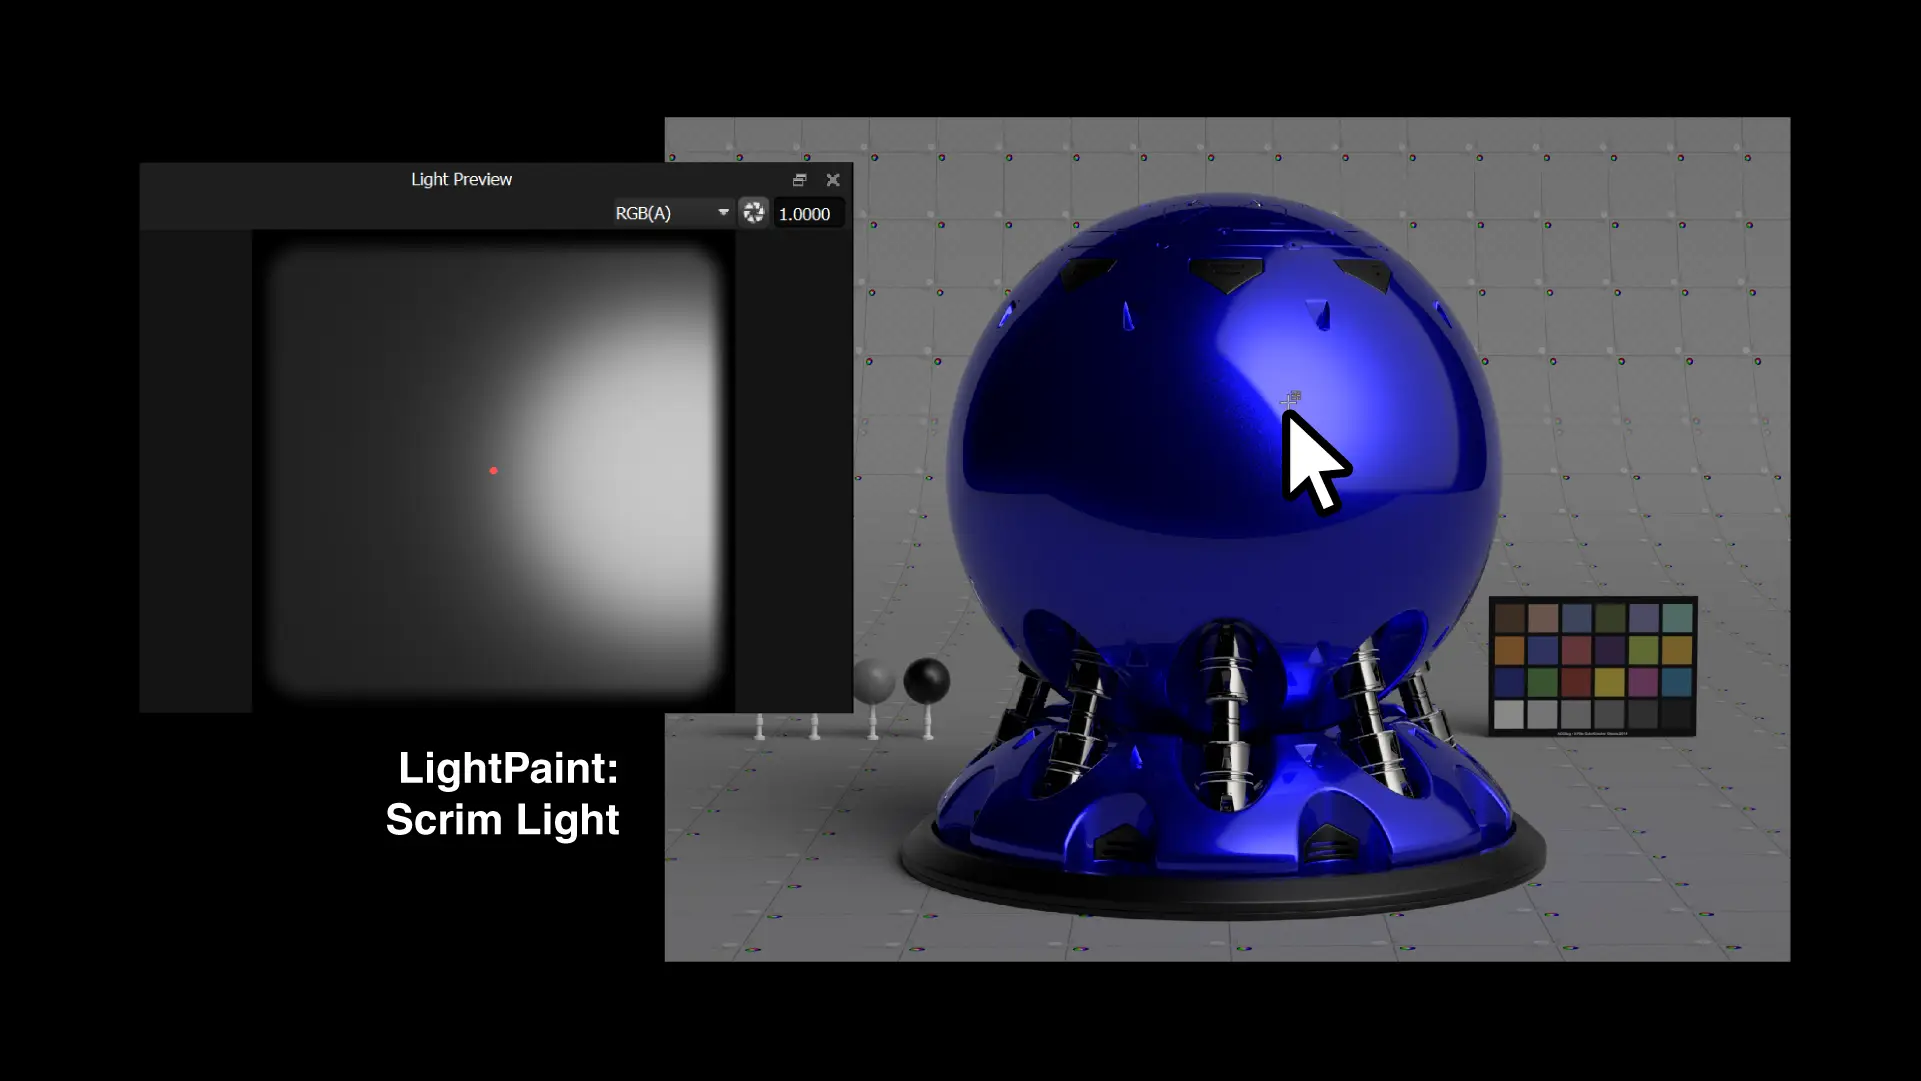
Place the light within the scrim light to position the hot spot
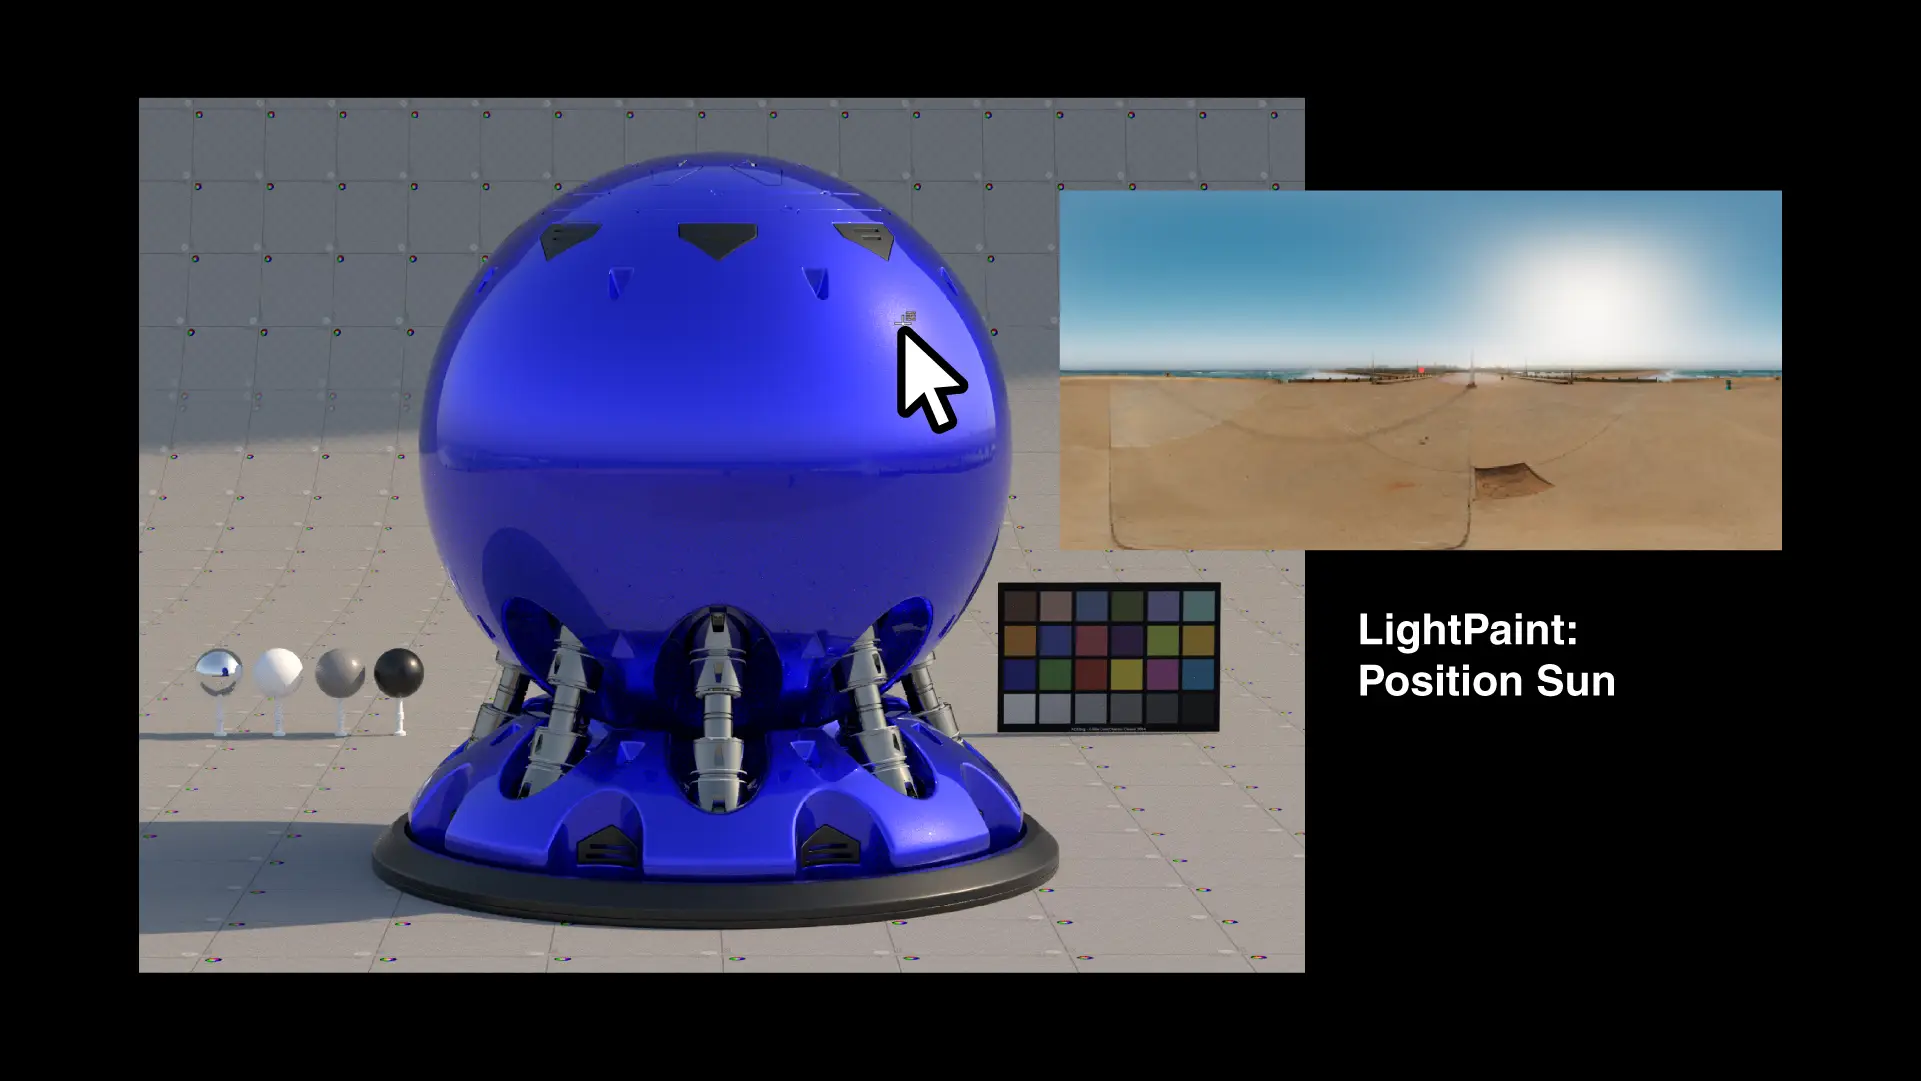
Place the sun position in the procedural sky
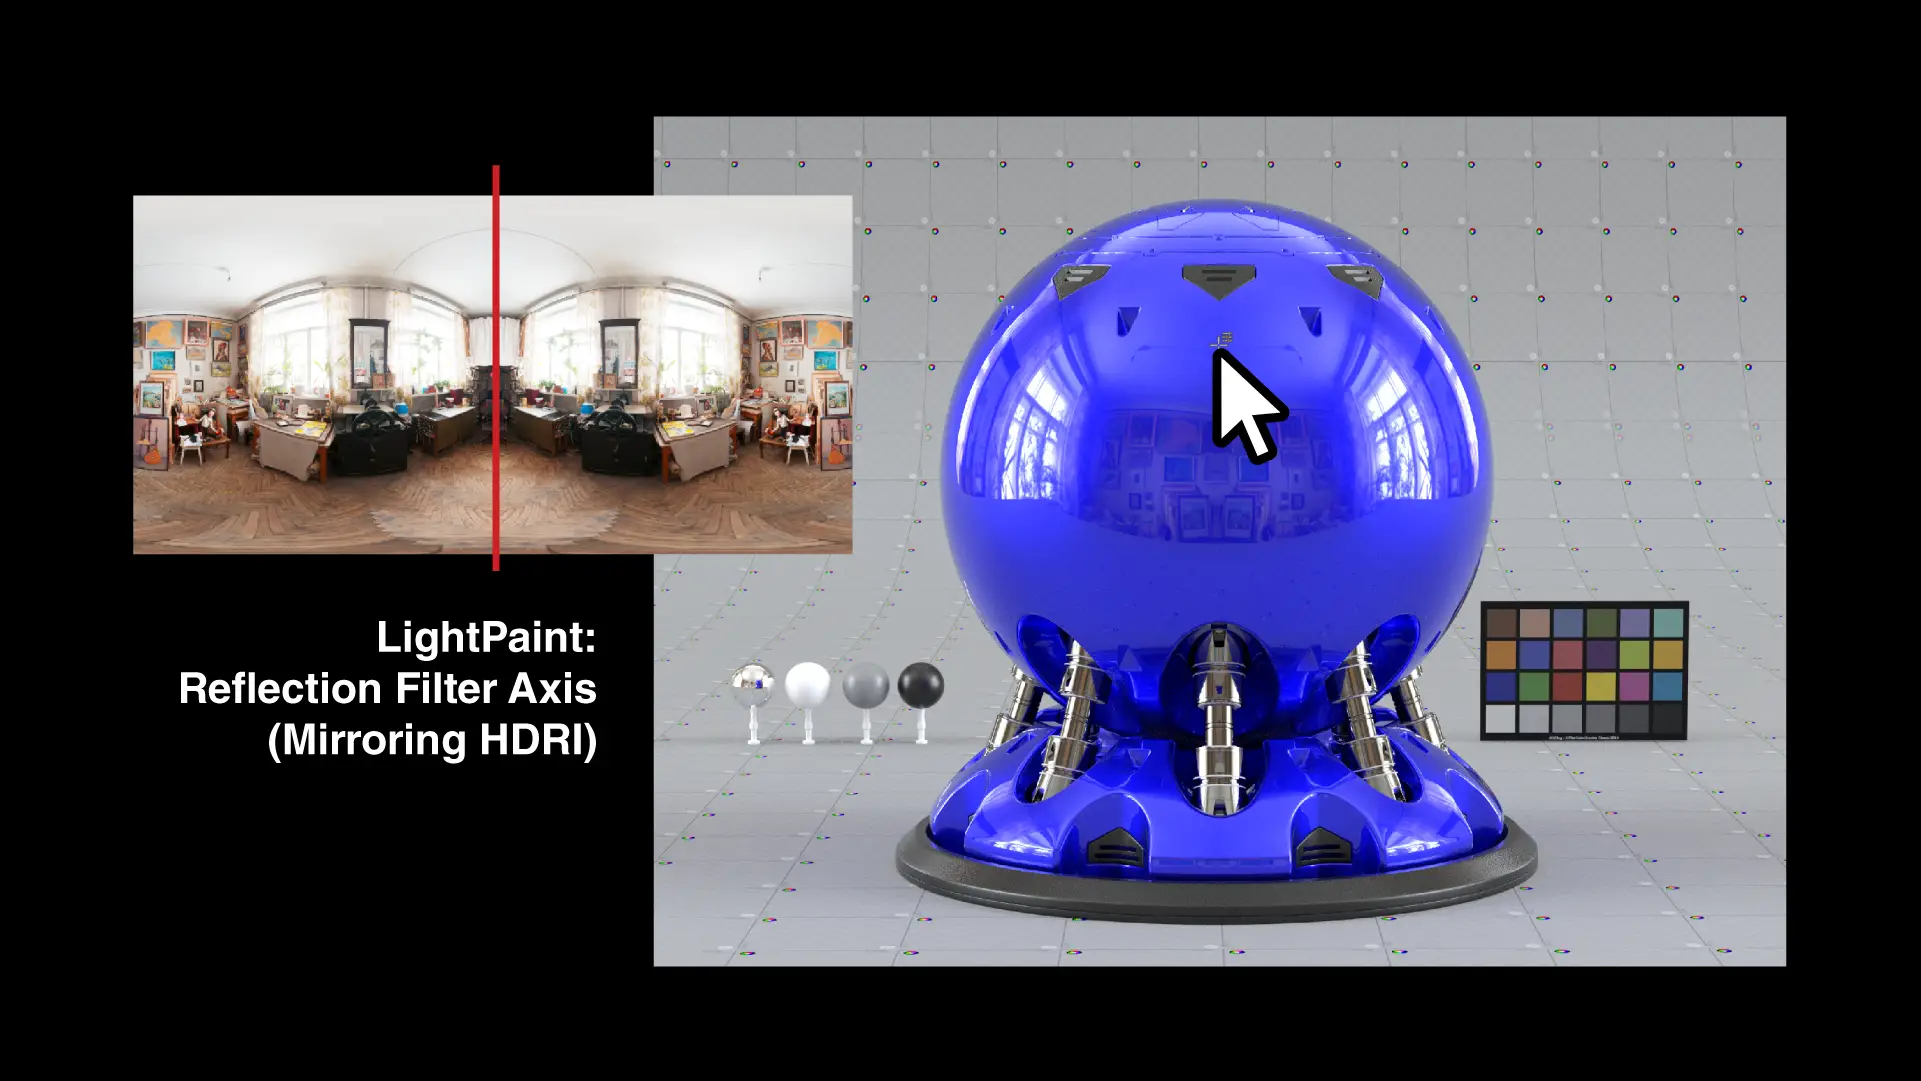
Place the reflection axis when mirroring a HDRI
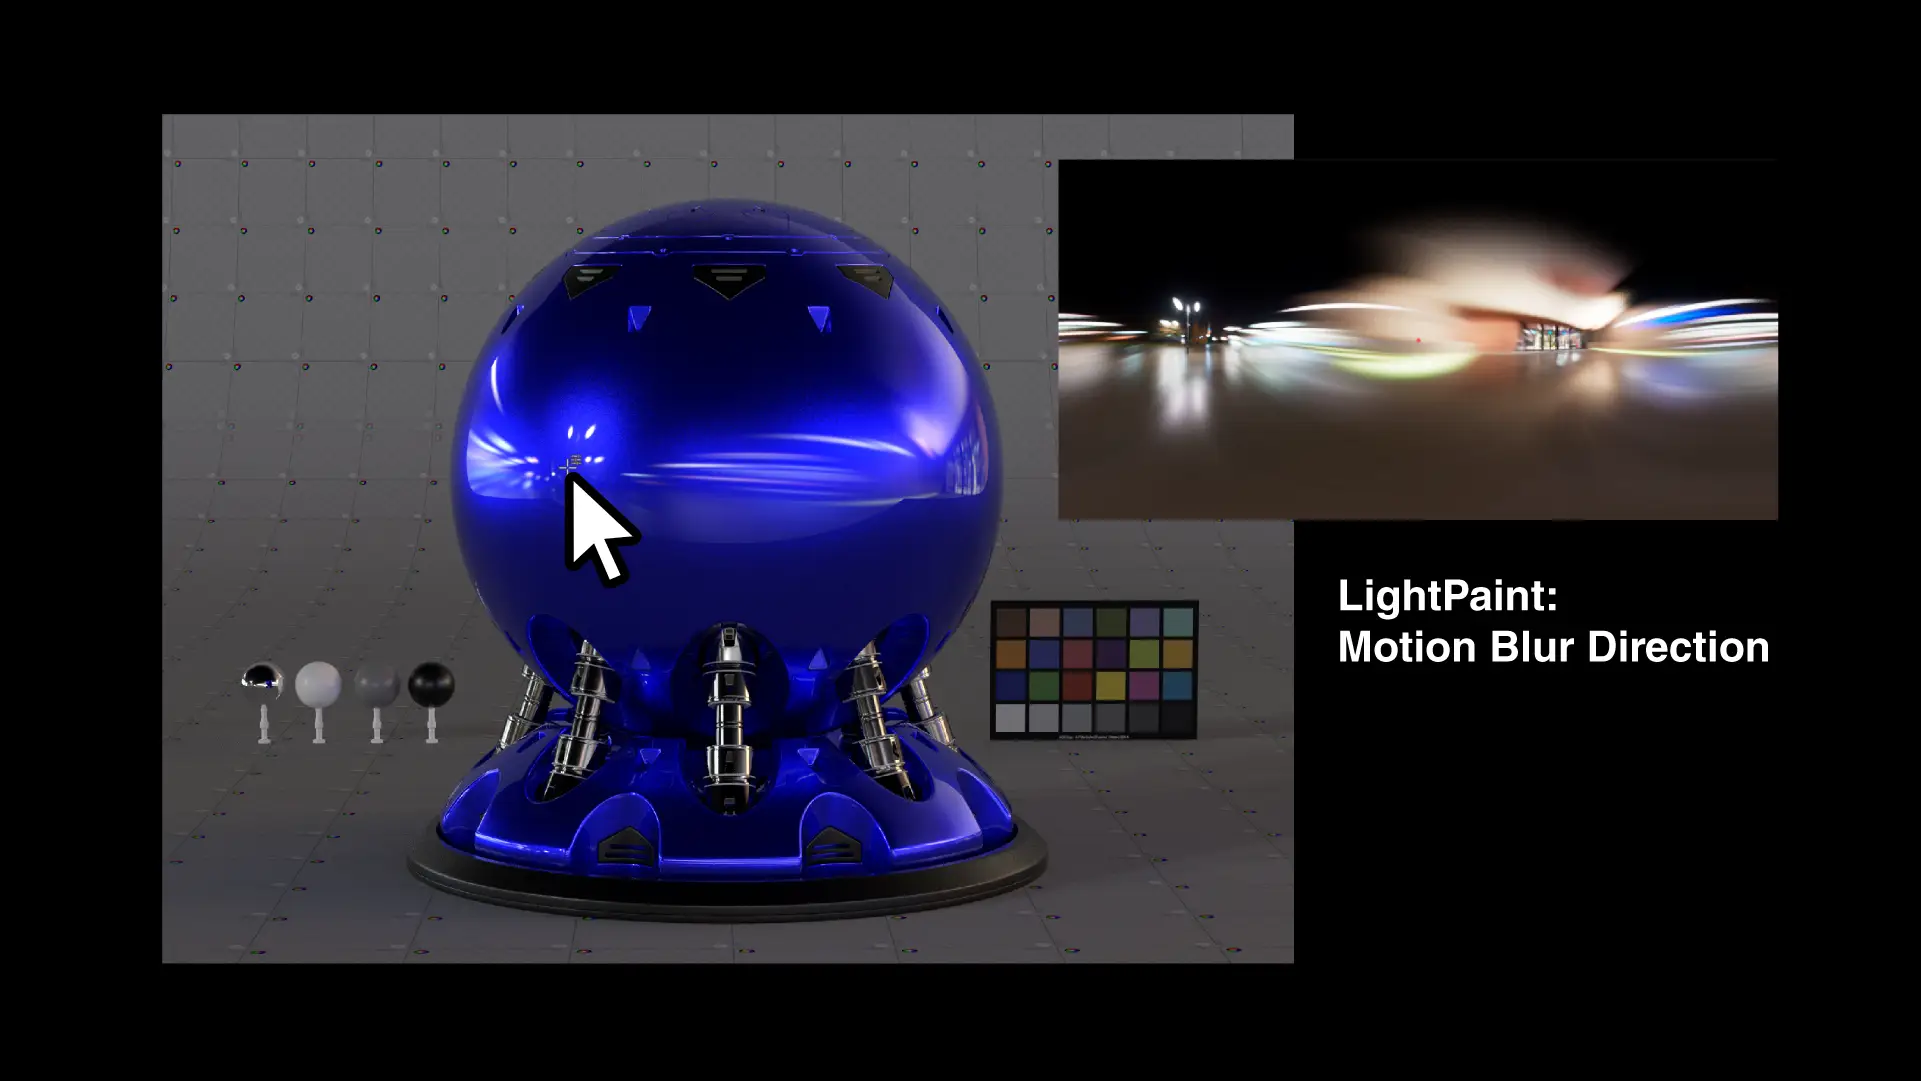
Place the direction of motion blur
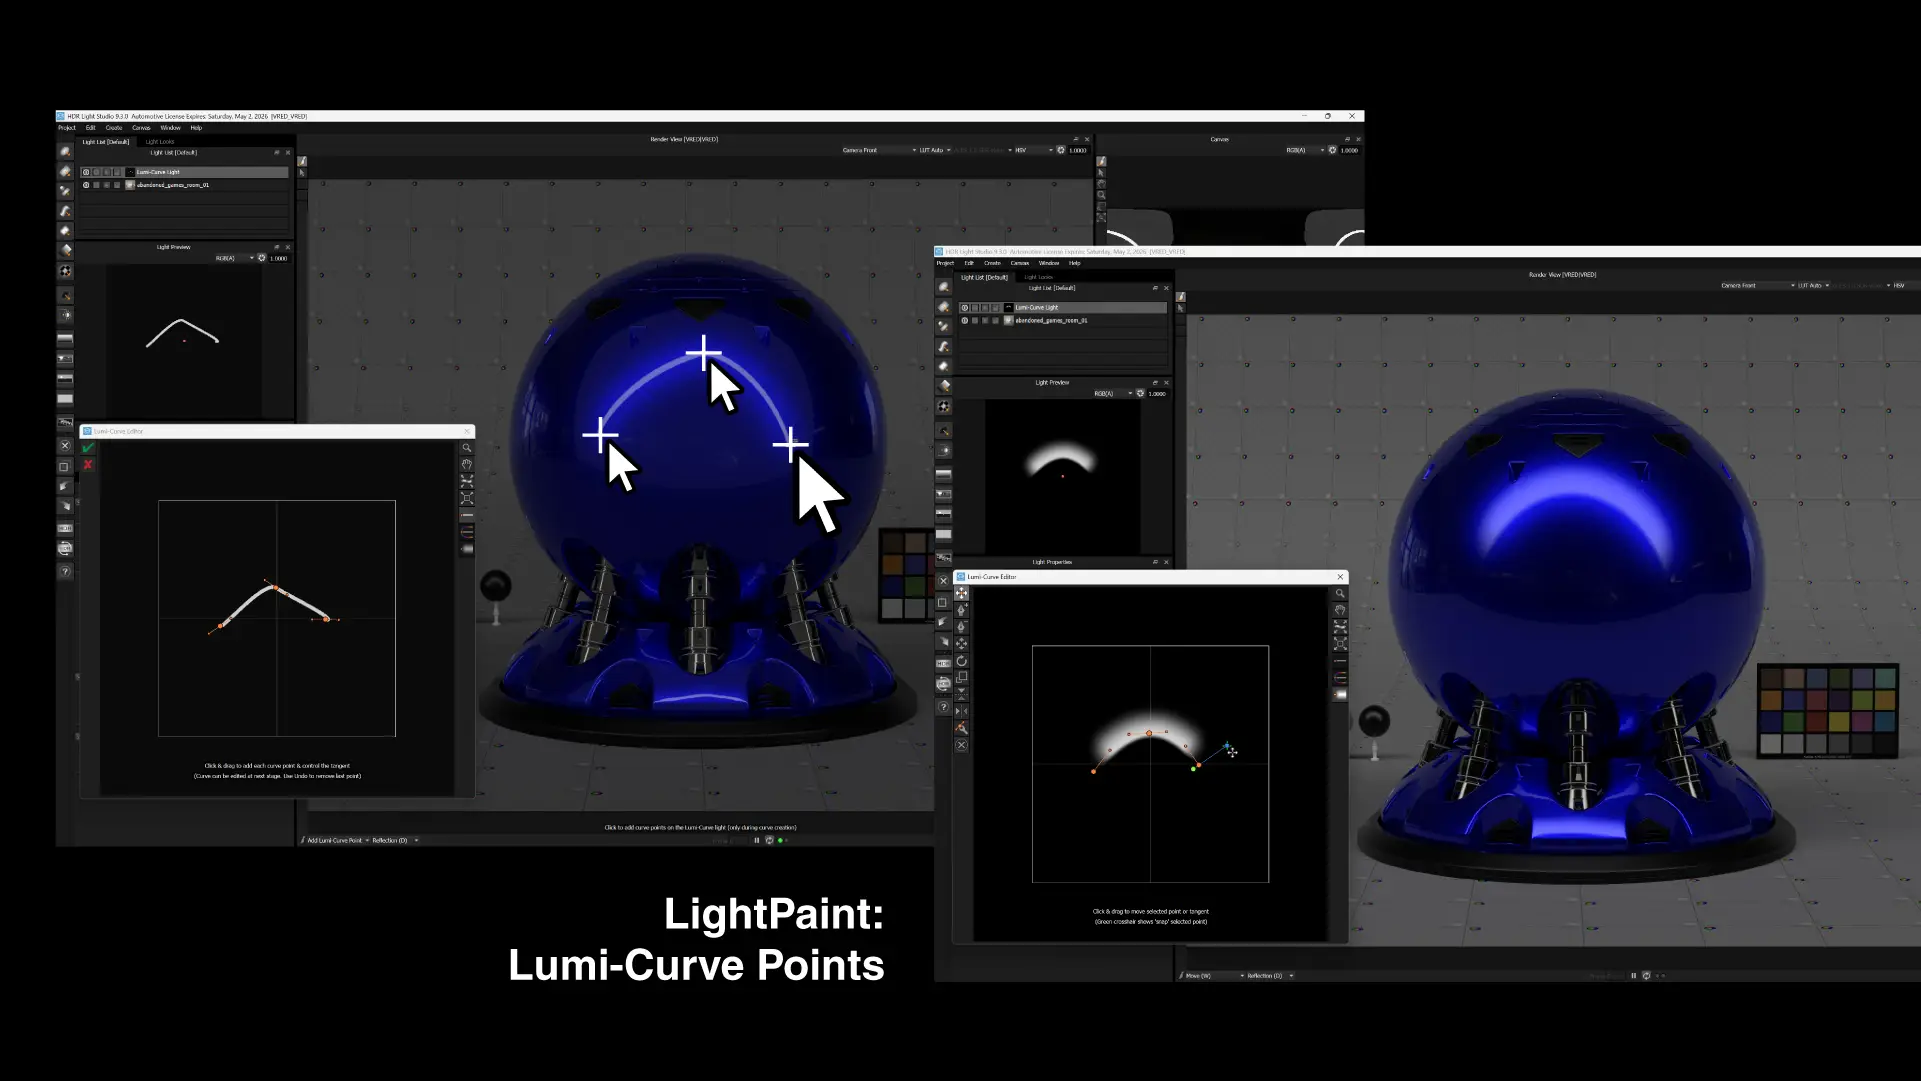
Place Lumi-Curve points on the 3D model
Advanced LightPaint Features
LightPaint can also be used to control other features where locations are best chosen from the 3D view.
- Place the light within the scrim light to position the hot spot
- Place the sun position in the procedural sky
- Place the reflection axis when mirroring a HDRI
- Place the direction of motion blur
- Place Lumi-Curve points on the 3D model
Where Next?
Main Features