HDRI Map Tutorial: Advanced Motion Blur
This Advanced Motion Blur filter is used to create realistic and creative motion effects on HDRI maps using HDR Light Studio (version Xenon Drop 4 or higher). The video below provides a tour of the Advanced Motion Blur filter and how to use it.
Feature Focus: Advanced Motion Blur
Level: Intermediate
Minimum HDR Light Studio Version: Xenon Drop 4 (build: 2021.1103)
Software used: HDR Light Studio and VRED
Video Length: 21:16
Topics Covered in the Video
Adding Noise to the Motion Path
Timestamp: @03:06
Noise profiles are perfect for mimicking road noise in automotive shots. It can also be used in a creative way to add jitter to long exposure light trails.
![Motion path without a noise profile applied [left] Noise profile applied to a motion path [right] Motion path without a noise profile applied [left] Noise profile applied to a motion path [right]](https://www.lightmap.co.uk/dynamic_resources/learning_post_content/994/image.jpg?1660649000)
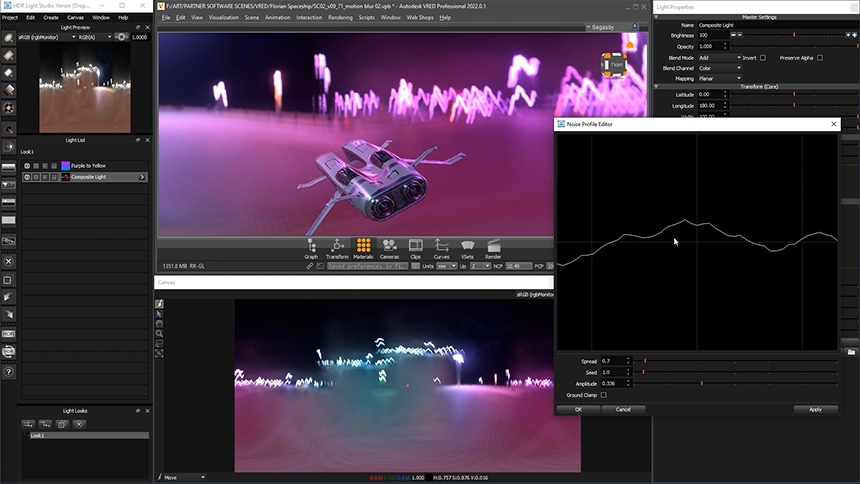
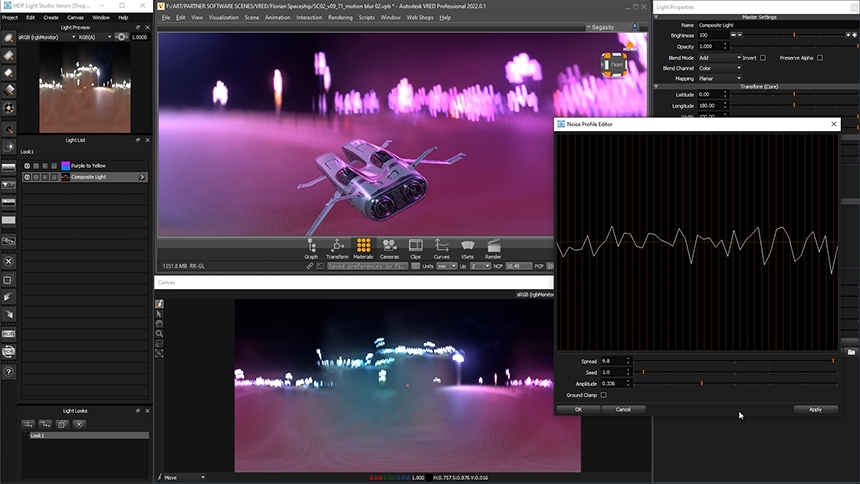
There are 4 settings in the Noise Profile Editor that will affect the appearance of the noise profile.
Spread
This scales the frequency of the noise over the length. This setting is almost like controlling how often the frequency of the noise is being repeated. The smaller the value the smoother the results will be.
Seed
The seed inputs into the noise algorithm to change what the noise profile looks like from an artistic point of view. Seed values are needed because it allows the noise profile to look the same, the next time a user opens their HDR Light Studio project.
![Noise Profile with 4.2 Seed [left] Noise Profile with 10.3 Seed [right] Noise Profile with 4.2 Seed [left] Noise Profile with 10.3 Seed [right]](https://www.lightmap.co.uk/dynamic_resources/learning_post_content/1001/image.jpg?1660649518)
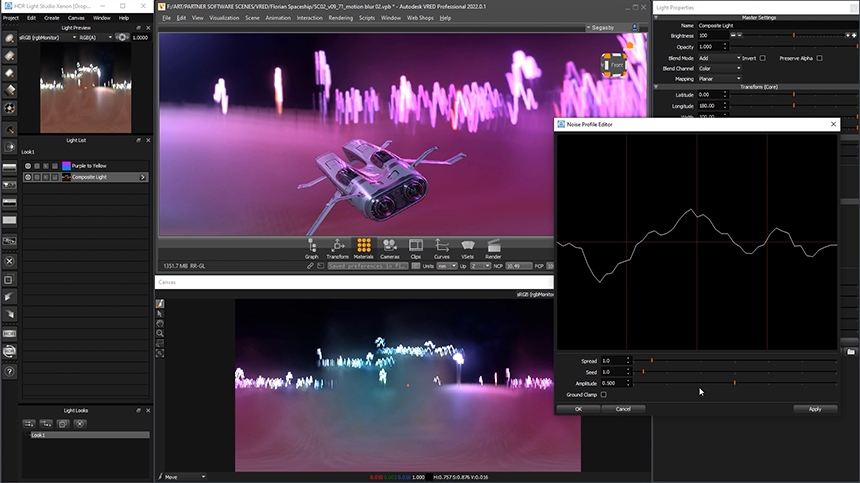
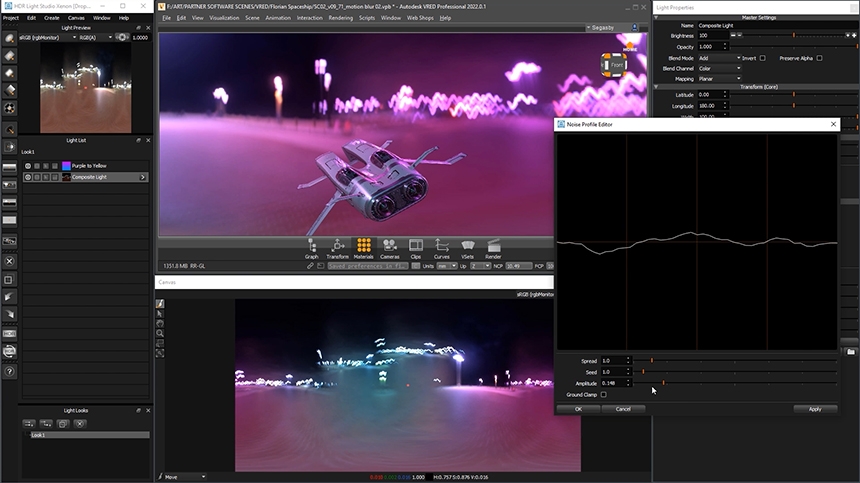
Amplitude
This scales the height of the noise frequency. E.g. a value of 0 will remove all noise.
Ground Clamp
This will clamp the values, resulting in positive values only. This setting is ideal for those trying to create an effect of road noise where there will be less movement underneath than on the top.
![Noise Profile without a Ground Clamp [left] Noise Profile with a Ground Clamp [right] Noise Profile without a Ground Clamp [left] Noise Profile with a Ground Clamp [right]](https://www.lightmap.co.uk/dynamic_resources/learning_post_content/1007/image.jpg?1660649689)
Curving and Tilting the Motion Path
Timestamp: @08:59
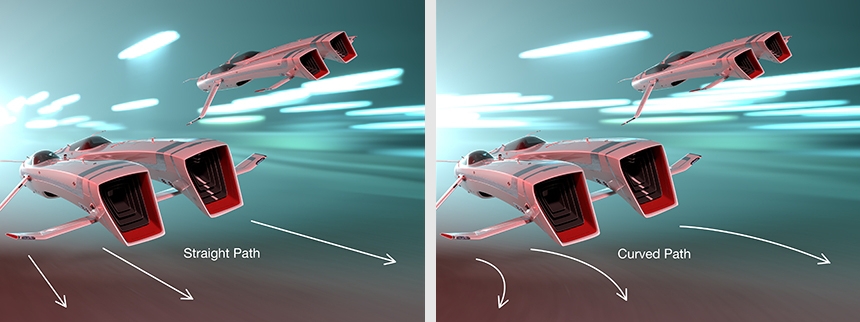
When a subject in the render is travelling around a corner, the motion blur would not be linear. Using the Curvature and Tilt setting allows for the motion path to be curved in any direction. This results in a much more realistic and physically correct motion blur.
Loading a Depth Image to Scale the Motion Blur Amount at Each Pixel
Timestamp: @14:00
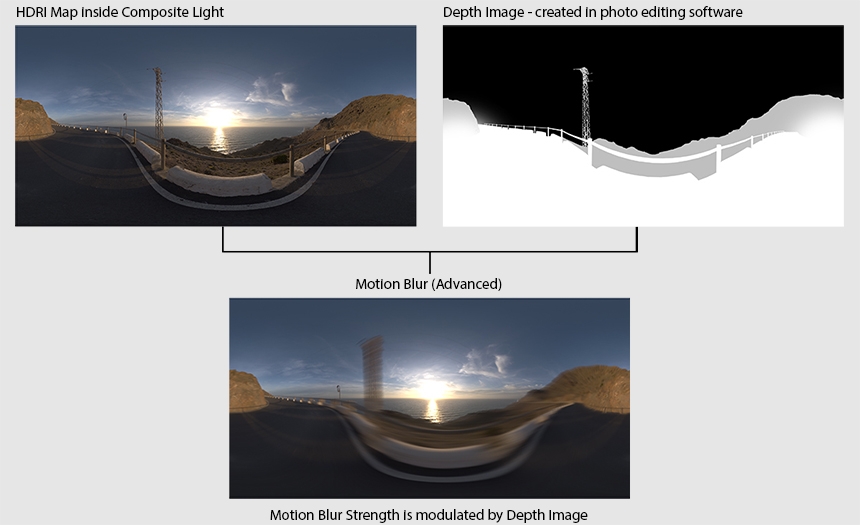
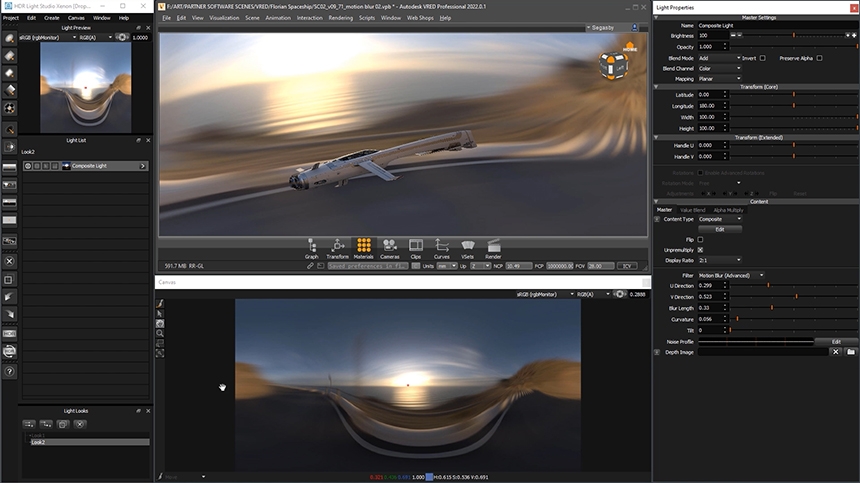
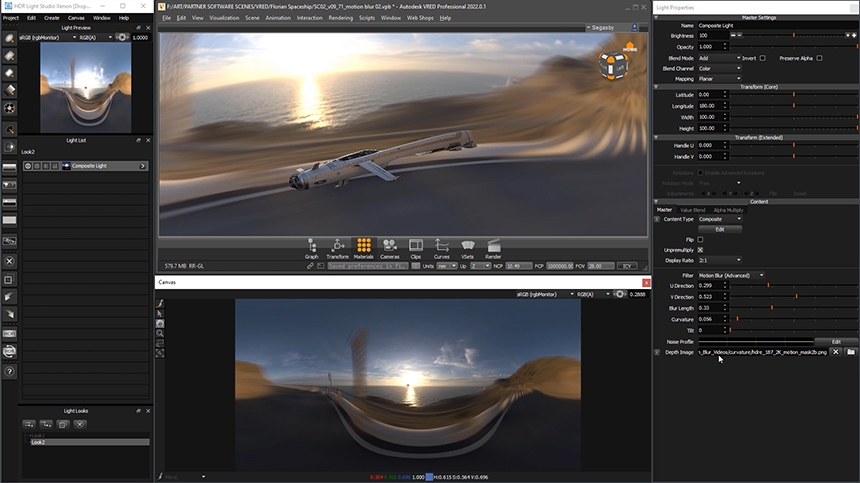
A depth image can be loaded into HDR Light Studio to control the amount of motion blur each pixel on the HDRI map will receive. On the depth image, black pixels will not be blurred at all, white will be fully blurred, and gray pixels will receive limited blur – for example, 50% gray will be half blurred.
This entry was posted in Features and tagged Motion Blur.

