3 point lighting tutorial with HDR Light Studio
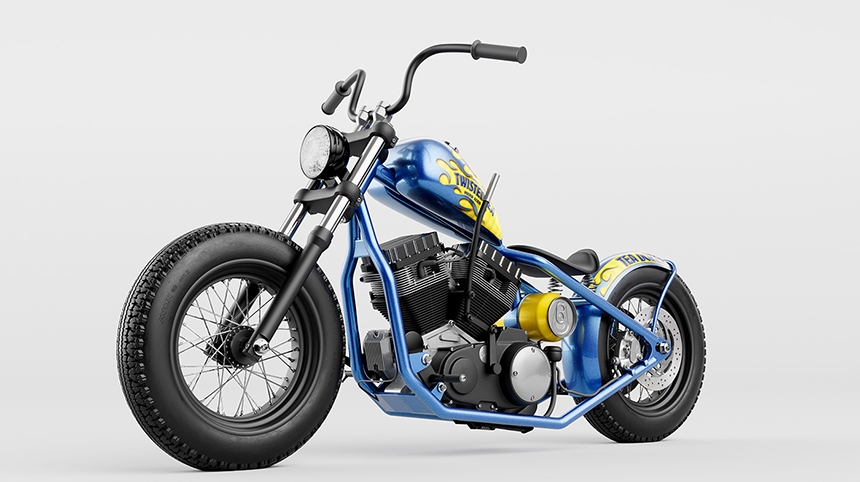
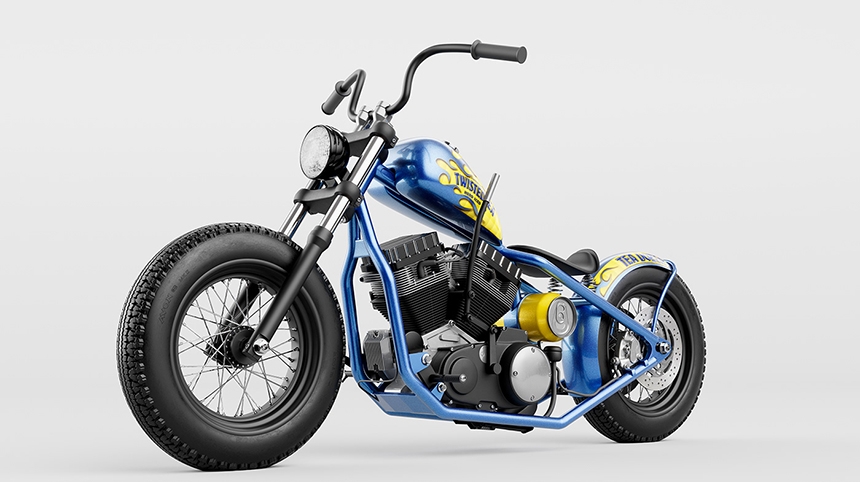
This is a custom motorcycle visual created for Twisted Tea by Brendan McCaffrey. The motorbike was being given away as part of a competition but the real bike was not completed in time for the launch. Brendan worked with Cycle Source Magazine and Twisted Tea to develop the look of the bike and produce a realistic stand-in for the eventual prize.
In the 3-point lighting tutorial below, you are taken step-by-step through Brendan's professional lighting techniques.
This project was set up in Maya with V-Ray. But the principles for 3 point lighting apply to any 3d software and renderer.
This scene is ready for lighting. The model is complete, materials have been assigned and the camera view has been approved by the client. There is only one V-Ray Light Dome in the scene. We are ready to start lighting with HDR Light Studio.
Let's start 3-point lighting this shot
When HDR Light Studio opens, it will automatically connect to the Maya session. As we create HDRI lighting, all the lighting from HDR Light Studio will be synced back to Maya in real time.
For this scene, we'll be creating a single custom HDRI map containing the 3-point lighting setup.
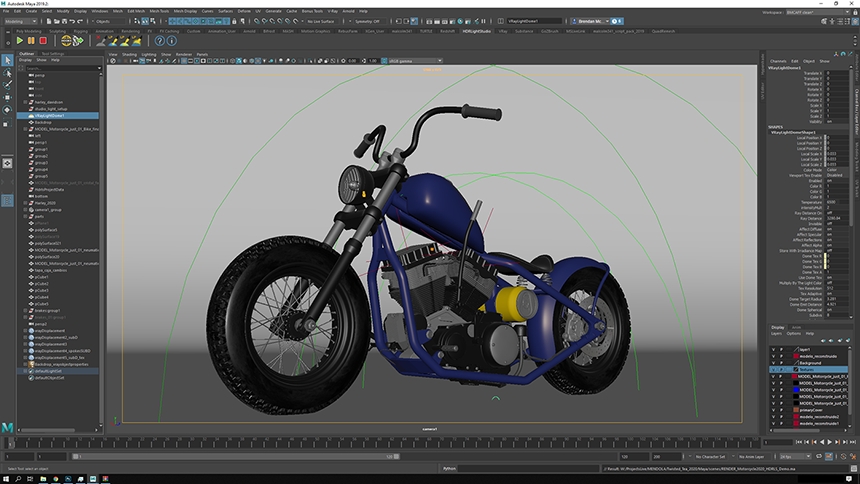
AMBIENT BACKGROUND LIGHTING
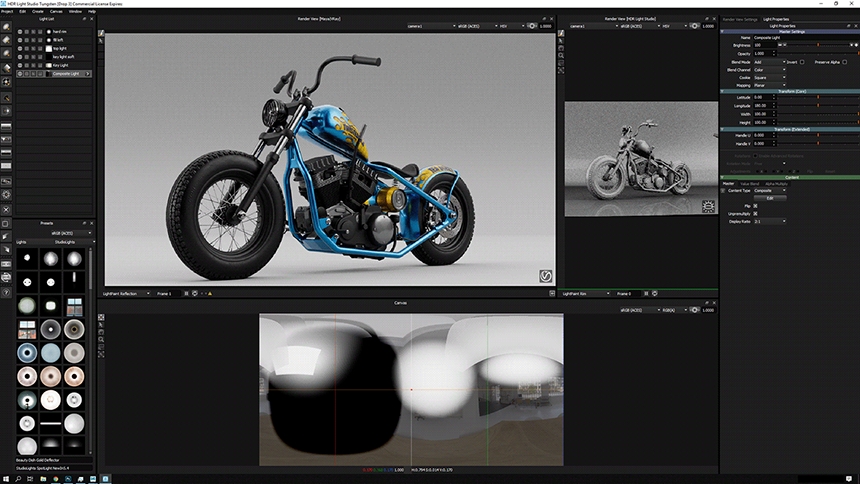
We start HDR Light Studio and load a generic photographic studio HDR background. Something low contrast is better as it won't compete with the key lighting (You can adjust the contrast using the gamma control in HDR Light Studio if needed).
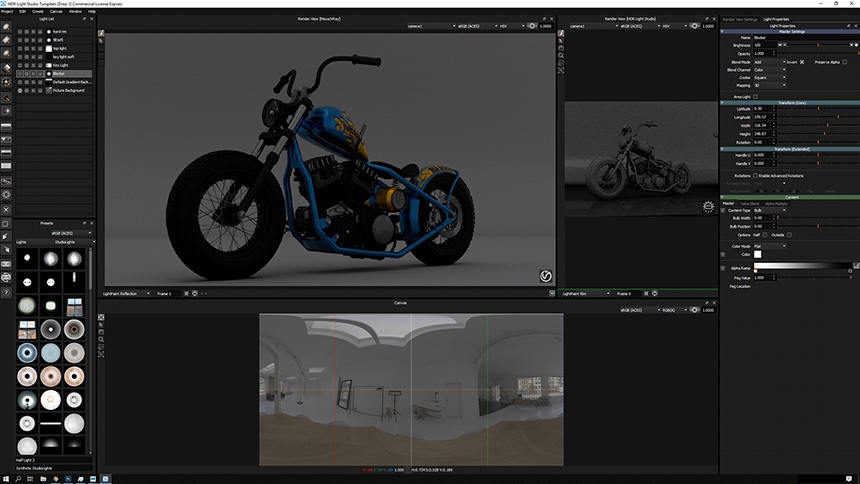
BOOST THE OVERHEAD LIGHTING
Adding a Gradient Background light makes the top of the HDRI map brighter. This top lighting starts the process of bringing out the forms and better defining the contact floor shadow. The effect is subtle but well worth doing!
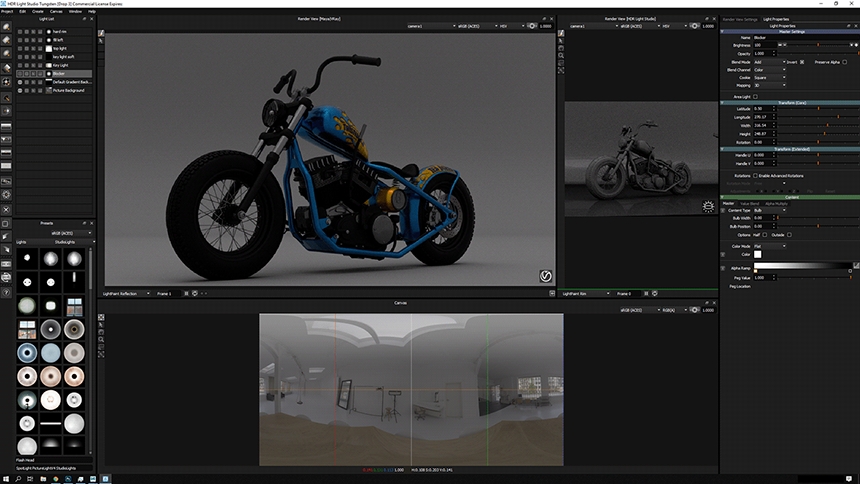
SHAPE THE AMBIENT LIGHT
Overall the lighting and shot is looking flat. We add a Dark Light to block out the ambient HDRI lighting seen on the front surfaces of the bike. This completes the overall ambient lighting for the 3D scene. This forms the base of the 3 point lighting scheme that follows.
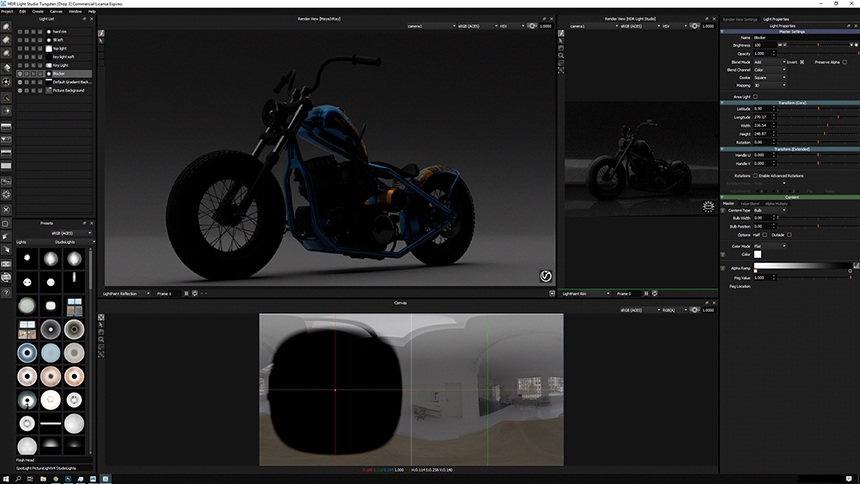
KEY LIGHT
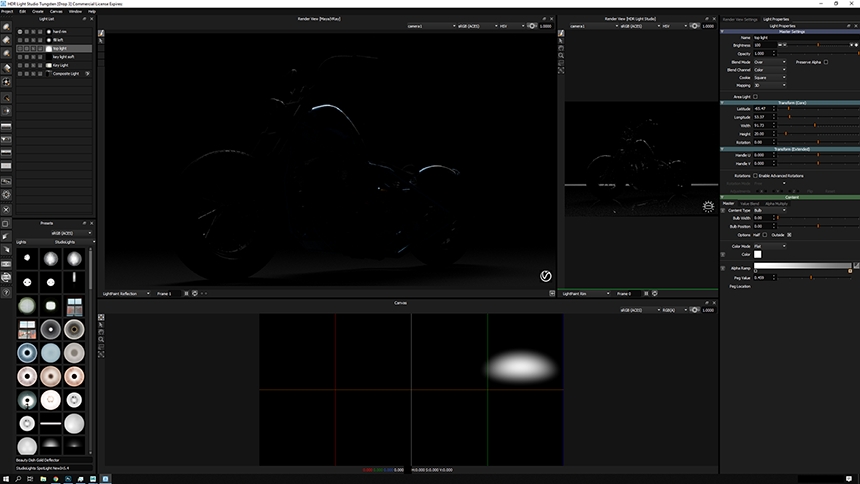
Next, the Key light is placed. This is the primary and most important light in the scene and is usually placed to the side of your subject. When placing the Key light it is better to isolate (solo) it and turn off all other lights, so you can see its full effect. The job of the key light here is to define the forms clearly. This light creates nice highlights on the rounded shapes of the frame, tank, fender, and tires - this all helps to communicate their form.
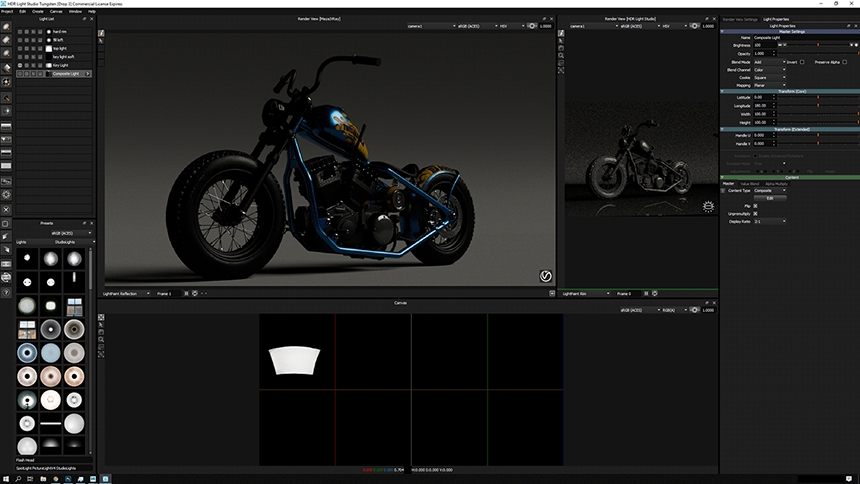
KEY LIGHT BOOST
A second, soft light is placed over the key light to smoothly extend the highlight and boost the intensity of the light. It's offset slightly to help bring a more definitive highlight onto the fork. HDR Light Studio is very flexible in allowing multiple light sources to overlap in the same area of the HDRI map.
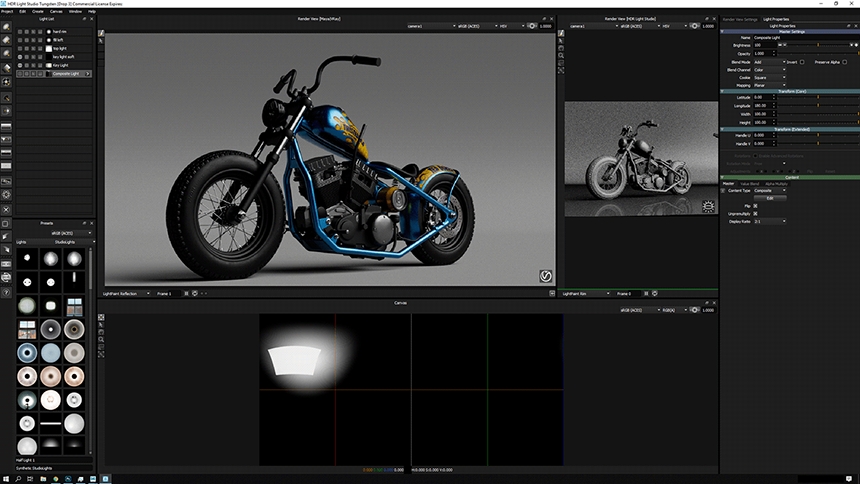
FILL LIGHTS
Fill lighting is added to get a better read on surfaces not directly lit by the key light - they are very much the secondary light in the 3d scene. Again it's useful to both isolate these new lights to see their effect alone, as well as see all lights turned on for the overall context of the lighting design.
Two fill lights were added here, a large softbox with defined edges for the metal parts positioned above the bike, and a soft light to the left to bring detail to the tire and other matt parts. In HDR Light Studio you can add lights anywhere around the scene, not limited by light stands needed for a real studio photographers' light kit.
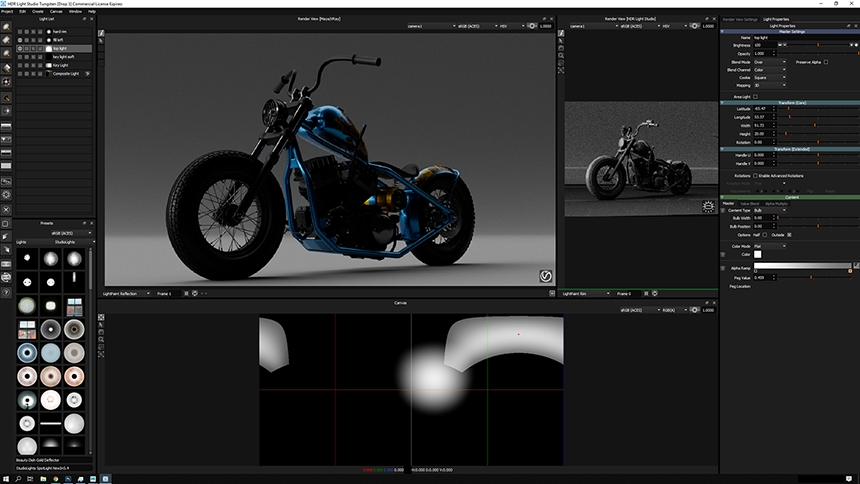
RIM LIGHT
Lastly, a Rim light (at a glancing angle behind the bike) is added to help integrate the subject into the background. Overall this has been a classic 3-point lighting approach.
FINAL COMPLETE LIGHTING
Some minor color adjustment was done post rendering... but the final result was 99% complete in the interactive render. In the V-Ray FrameBuffer OCIO ACES CG workflow was used.
The render was exported as an EXR and View Transforms were applied in Photoshop to match the framebuffer preview.
Many thanks to Brendan McCaffrey sharing his 3-point lighting process with us in this mini-tutorial. See more of his work on his Behance page here.
This entry was posted in Lighting Tutorials and Demos and tagged V-Ray, Maya.


