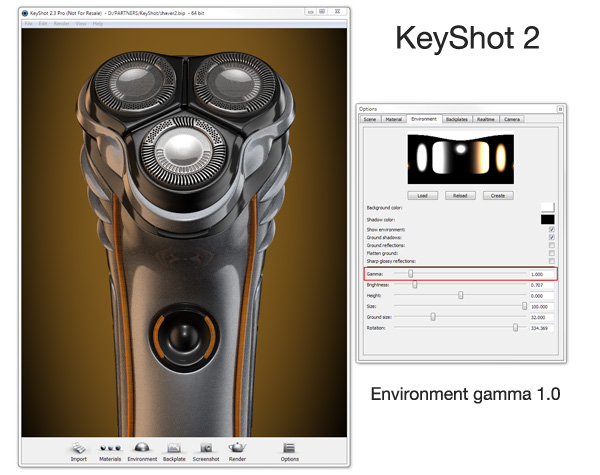
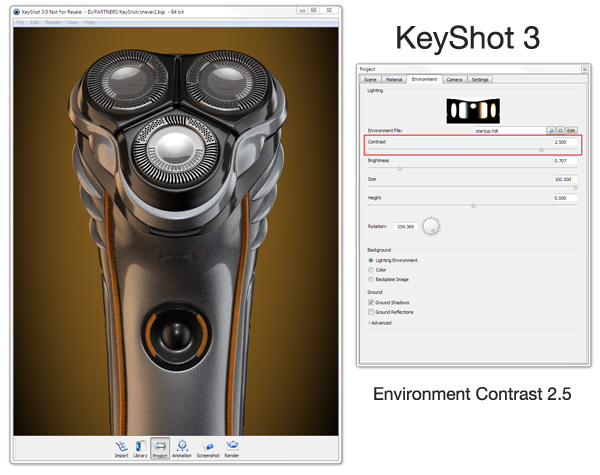
I then opened the same file in KeyShot v3 and in here the Contrast is set to 2.5 and real-time renders looked exactly the same. So I now know that the correct setting for the Contrast when using HDR Light Studio is 2.5. But I wanted to understand how this Contrast value relates to the old Gamma setting… where does this number come from and what does it mean?
I tried a range of environment gamma settings in KeyShot 2, and then opened these files in KeyShot 3 – to find a pattern. It turns out that in KeyShot 3 the Contrast value = 3.5 minus the old gamma value. So for example: 3.5 – 1 = 2.5.
I hope this little sum will save you some time when setting up KeyShot 3 scenes. Simple small changes like this can really trip you up and cause quite a lot of head scratching when changing over. It’s not a problem when opening up KeyShot version 2 scenes… this conversion is done for you. But when starting a new project – simply leave this Constrast setting at 2.5 when working with HDR Light Studio… and adjust the gamma of the final image in the image settings to get the look you want.
Additionally when you are not using HDR Light Studio but using HDRI content from 3rd parties, often for some bizarre reason, the HDRI gets a gamma of 2.2 applied to it to make it look nice. This leaves the image data useless for accurate lighting and reflections, as the real world brightness values have been altered. A light of 500w is no longer half the brightness of a 1000W light when you apply a gamma adjustment like this to a HDRI. To correct this and make the lighting information valid again, you would normally apply a 1/2.2 = 0.4545 gamma setting – the inverse of 2.2. So in KeyShot 3 to apply a gamma of 0.4545 you would need to set the environment Contrast value to 3.5 – 0.4545 = 3.0455… in this case I would say a Contrast setting of 3 would be near enough and happens to be the max limit on the slider also.
Happy lighting in KeyShot version 3!


