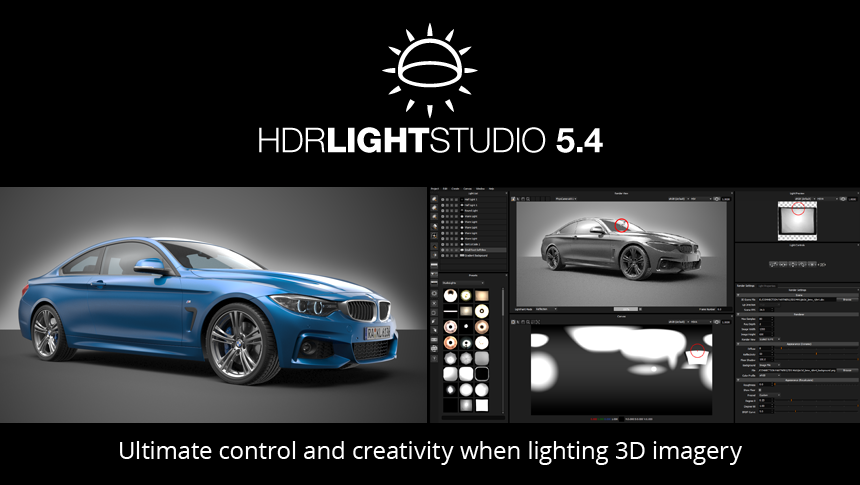
HDR Light Studio 5.4

Watch this video for an overview of the new features:
How do I get my hands on it?
- If you’re an existing subscription or maintenance customer the release is all yours. Simply login to your account and download now.
- If your subscription or maintenance has lapsed you can renew online now.
- Alternatively you can take a fully functioning 15 day trial.
Don’t forget, we’re here to help. If you have any questions at all, please don’t hesitate to contact sales@lightmap.co.uk
The Juicy Details
Adjustable Light Handles
Since HDR Light Studio 1, lights have been positioned by their centres, as indicated by the orange dot – we call this the handle. But sometimes when using LightPaint to position lights on the 3D model, you don’t want to place a light by its centre. HDR Light Studio 5.4 introduces adjustable handles that can be positioned anywhere within the light.
The handle can be easily moved using the sliders or by dragging directly in the Light preview image.
In the image below, you can see how the light handle has been moved to the top edge of the light preview and that LightPaint has been used in the Render View to position the light by its edge.

In the example below the light is also being placed onto the bottle using its edge.

Advanced Rotations
3D mapped lights are no longer limited to being orientated ‘normal’ to the lighting sphere, or for area lights, facing directly at the LightPaint location. X and Y rotations allow lights to be orientated in any direction. The light orientation is controlled with X,Y,Z rotations click and drag controls, these work relative to the light’s current orientation, so are easy to use.
Full 3 axis rotations allow new content to be added into a HDRI map and precisely orientated to simulate any 3D positioning. This provides far greater control over your existing HDRI maps.
In the example below new windows, signs, a wall and much more has been added to the existing HDRI map. This is only possible due to the new rotation controls. Even the tube lighting in the ceiling has been boosted with new lights positioned to match up exactly with those existing tube lights.

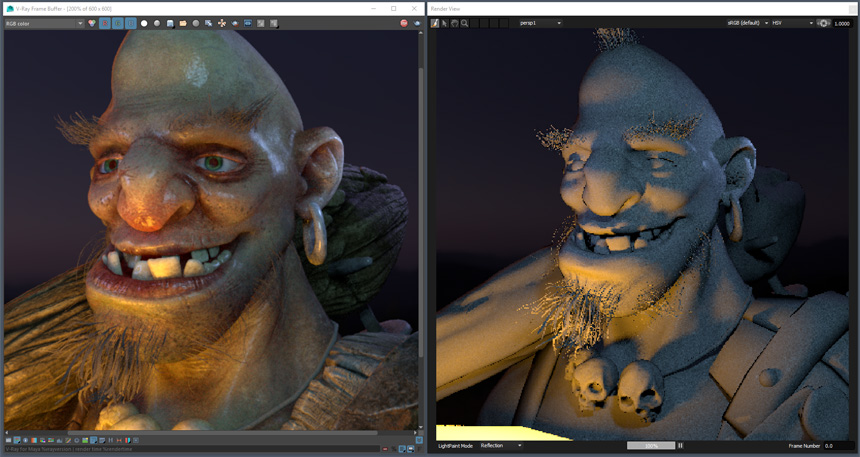
Area Lights can now point in any direction and are not limited to face the LightPaint location. So LightPaint can be used to position the light, but the direction it faces can easily be adjusted. In the example below the light has been positioned using LightPaint but orientated to uplight the ogres face. It is true that orientating lights in 3D software is easy, the difference using HDR Light Studio, is the fluidity and ease in which the lighting can be created, adjusted and positioned in a very creative way – concentrating on the lighting effect in the final shot and not worrying about moving lights in 3D space.

Rotation Modes
Rotation Modes allow the user to change the orientation characteristics of a light, providing useful behaviours for the lighting artist. There are 4 Rotation Modes:

Free: Behaves the same as when the Advanced Rotation setting is off (lights are normal to the lighting sphere and area lights face the LightPaint location), but you are able to manually adjust the X,Y,Z rotations of the light.
V-Lock: Light is always vertical, and aligned with the LightPaint location – This is ideal for pack shots, maintaining the vertical alignment of lights.
H-Lock: Light is always horizontal, but aligned with the LightPaint location.
Fixed: Ignores the LightPaint location, default to horizontal and aligned with world X axis – Ideal for placing the light over a car with a fixed orientation.
The X,Y,Z rotations are applied as an offset to these default behaviours, and this offset is maintained even when moving the light. So for example if V-Lock mode is used, the light can be tilted a little off vertical and wherever the light is place it will face a little off vertical.
New Light Sources
32 additional Studio Light Sources have been added to the Preset library.
(Customers should download Studio Lights 2 to get these new lights, for trial users they are included in the trial lights at lo-resolution)

Nice New Touches
The cursor is now updated to indicate which tool is active when using the Canvas, Render View and Light Preview.
Double click on any slider label text to reset the slider to its default value.
Enhancements
Cinema 4D Connection now supports R19
Cinema 4D Connection now supports R18
DeltaGen Connection now supports 2017x
15 day fully functional trial now includes all Preset Lights at low resolution
Watch demo videos of the new features in action on our What’s New page.

