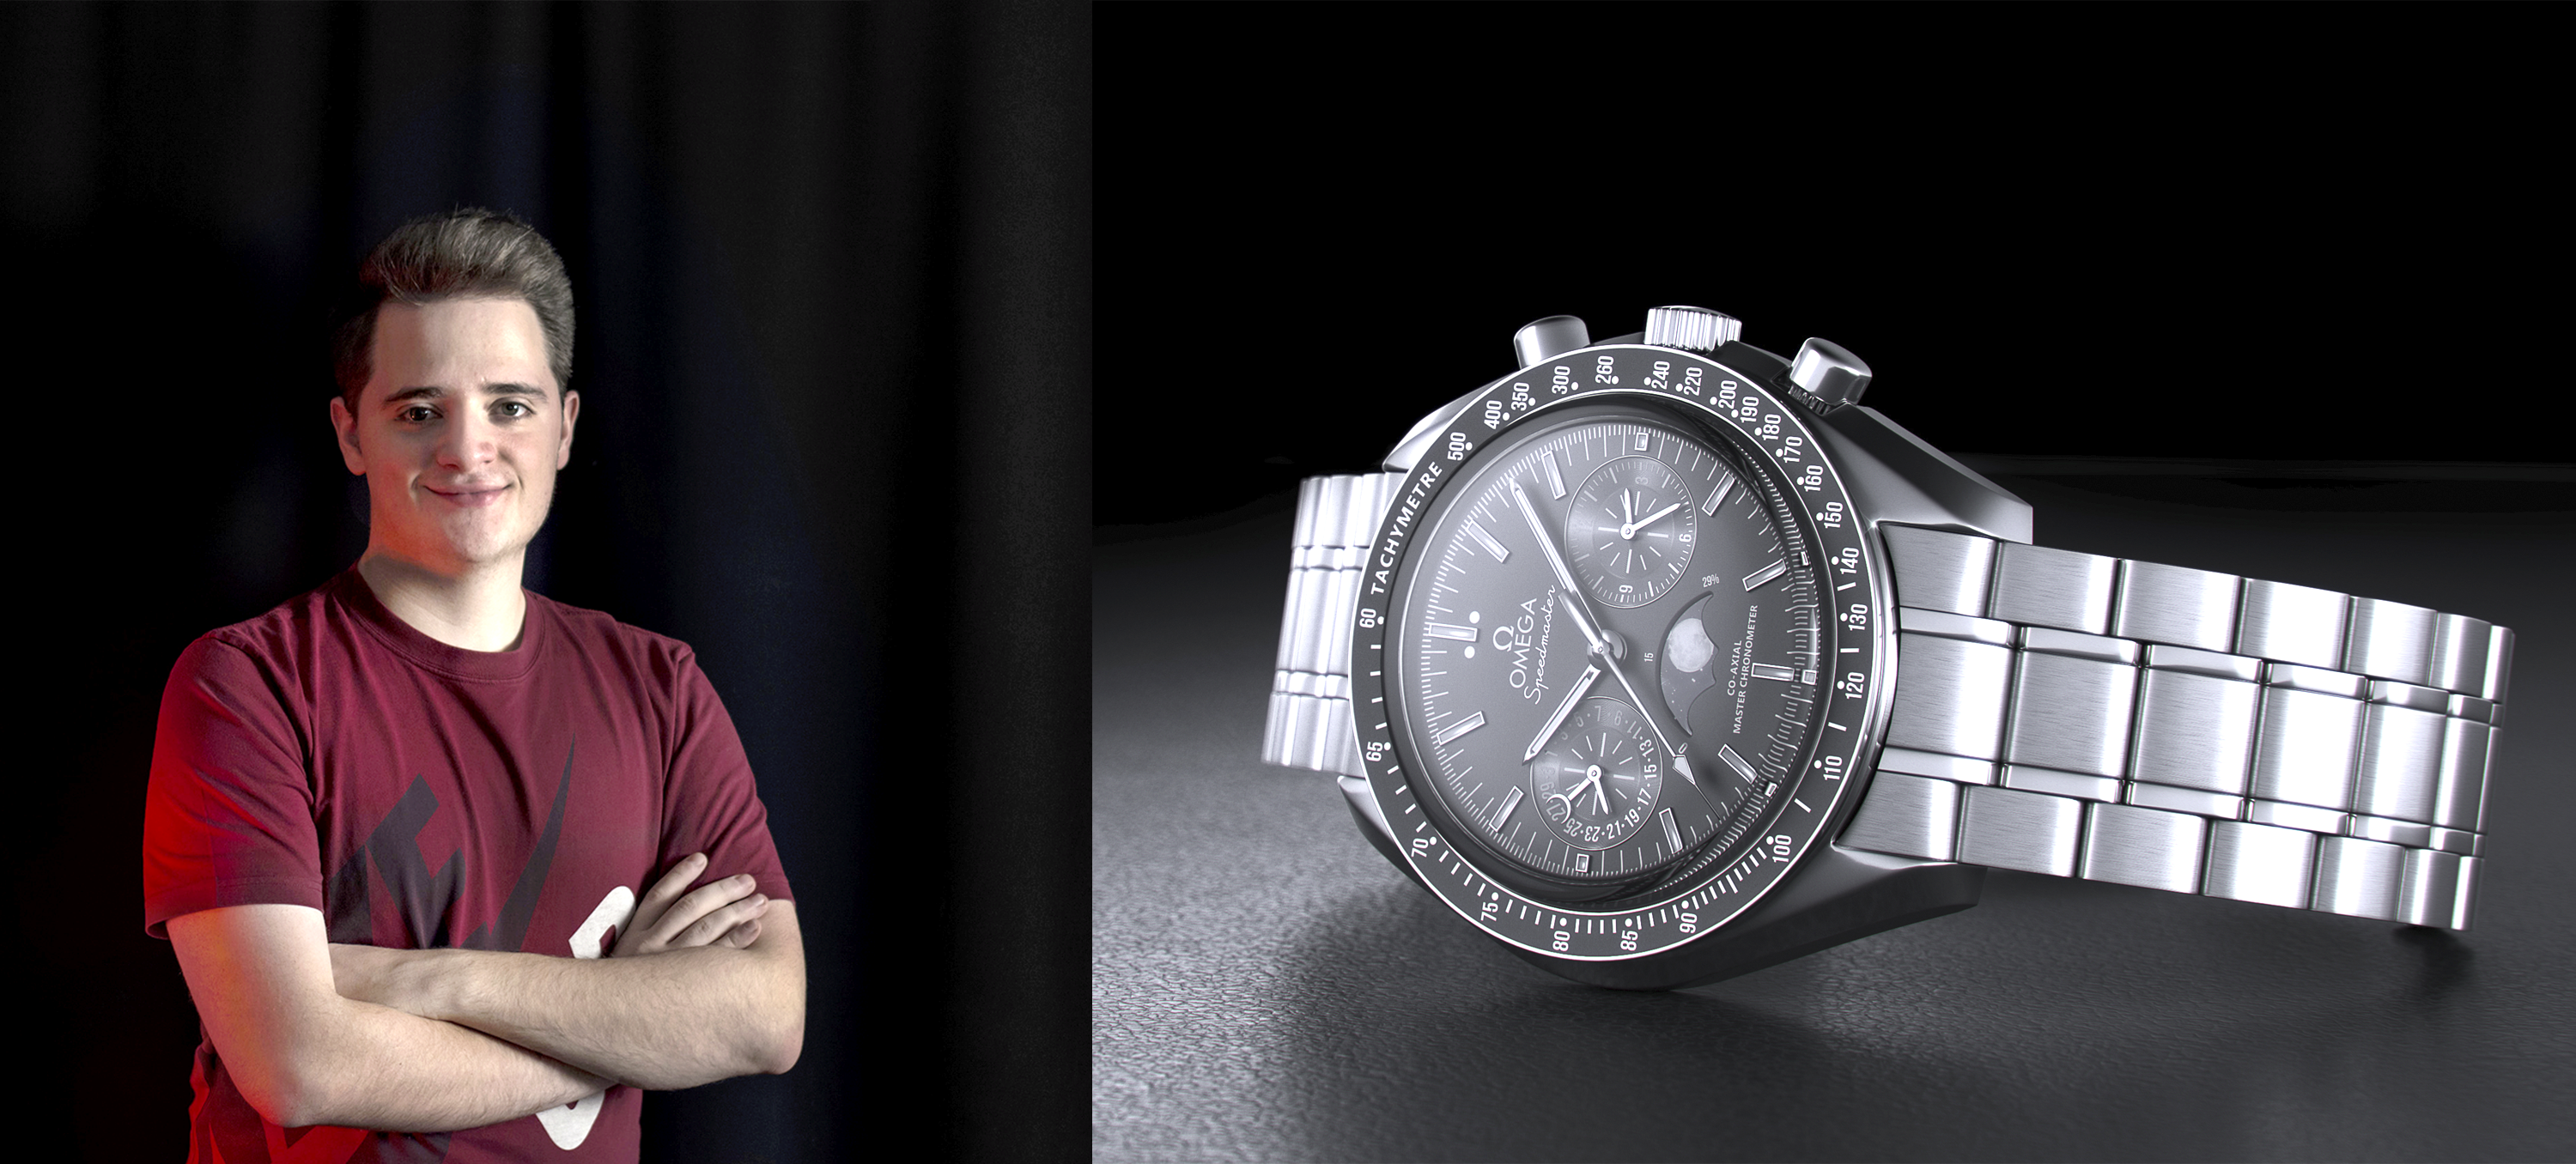
Lightmap got the chance to speak to Milan-based 3D generalist, Matteo Rossi, who specialises in product and architectural visualisations, about his Omega Speedmaster watch project, lit using HDR Light Studio.
Cinema 4D Artist: Matteo Rossi - Omega Speedmaster Project

When did you initially come across HDR Light Studio and what influenced you to add the software to your workflow?
I came across HDR Light Studio in December 2016, when I was attending a Cinema 4D masterclass. I was searching for an easy way to achieve stylish reflections while lighting the scene I was working on. Up until then, I was using Cinema4D’s built-in area lights that were pretty hard to handle while lighting a complex shaped object.
Learn more about Cinema 4D area lights and their features.
I then found the “Automotive CGI studio lighting with HDR Light Studio 5” video on YouTube created by Maciej Ptaszynski. I was instantly surprised by the ease of use and immediately fell in love with the software. Since I was trying to focus on product visualisation for my business I decided to purchase a license of HDR Light Studio and make it my main weapon to achieve awesome renders.

Could you explain how you created the Omega Speedmaster images and what software you used?
I found a beautiful model of an Omega Speedmaster on the website www.viz-people.com, so I decided to do some R&D renders. The main software I utilised was Cinema 4D alongside V-Ray as the render engine. The aim of the project was to magnify the timepiece shape simply by using lights. For the front shot, I started using some light discs to shape the sides and then I added a top softbox to display the whole object. I finished the lighting rig by using the soft disc light on the top left corner to highlight the dial. The close-up shot was completed by using the same light rig as before.
For the side view, I used two softboxes, on the left and right side, to get nice shadows and reflections contrast; I even put a big and mild light tent to fill the lighting in the scene. Since materials and the scene set up were not that difficult it only took me a day to create these renders from scratch.

Why did you think HDR Light Studio would be a good fit for this project?
HDR Light Studio was the best choice to create a fancy and awesome lighting rig; the real-time feature is a godsend while working on multiple shots of a single product, it allows you to create multiple studios set in a super easy and fast way. I personally prefer to create an HDRI instead of using Cinema 4D’s built-in area lights because I can see directly in Cinema 4D how materials look according to the lights I’m building in HDR Light Studio.

How has HDR Light Studio helped you as an artist?
HDR Light Studio has changed the way to approach lighting drastically, it’s no longer about just lighting but about “lighting with style”. I strongly recommend HDR Light Studio to all artists and visualisers creating product and automotive renderings. The best thing about this software is that it is easy to use and learn, and so powerful.
It’s a must-have software, especially if you are working with render engines that allow real-time preview, for example, V-RAY or Octane.
Thank you to Matteo for sharing your project with us – to view more of his work visit his Behance.

