John Wick 2 - Amador Valenzuela's stunning work

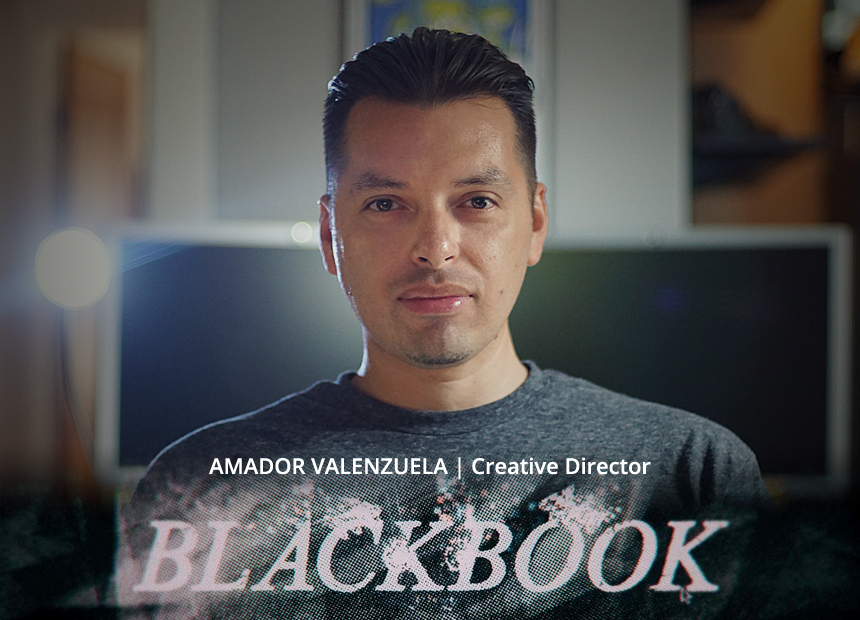
Amador Valenzuela is Founder & Creative Director of Black Book Studio. Black Book Studio is a creative studio focused on design & animation for the entertainment, advertising, and independent entrepreneur communities.

Black Book recently used HDR Light Studio for lighting the opening shots in the movie John Wick 2. We got in touch to find out more about Amador’s history in 3D, the tools he uses, and how HDR Light Studio was used for John Wick 2.
Amador, how did you get started in 3D?
I’ve always had a passion for drawing and painting, and I knew I wanted to work in a creative field when I grew up. In high school, I took scenic design classes where we built sets for plays. It taught me how to work in a team environment which I loved. 3D seemed to be a mixture of those traditional mediums taken to the next level. I figured demand for that kind of work would only grow over time, so I made a strategic decision to study “computer animation” in College.
What is your chosen 3D software set up and why?
It changes with the times. Not too long ago I was using 3ds Max and rendering with V-Ray on a ten blade CPU render farm. More recently, I’ve switched to a GPU workflow using C4D plus Redshift & Octane as my render engines. As soon as Arnold releases a GPU version, I’ll probably try that out next. Beyond that, I own a few Greyscalegorilla plugins, X-particles and I just recently fell in love with HDR Light Studio.
The reason for using any particular piece of software boils down to what my needs are within the project that I’m working on at the time. Ultimately, I use tools that make my life easier and help me create high-level content for my clients.
Please can you tell us more about the John Wick 2 project?
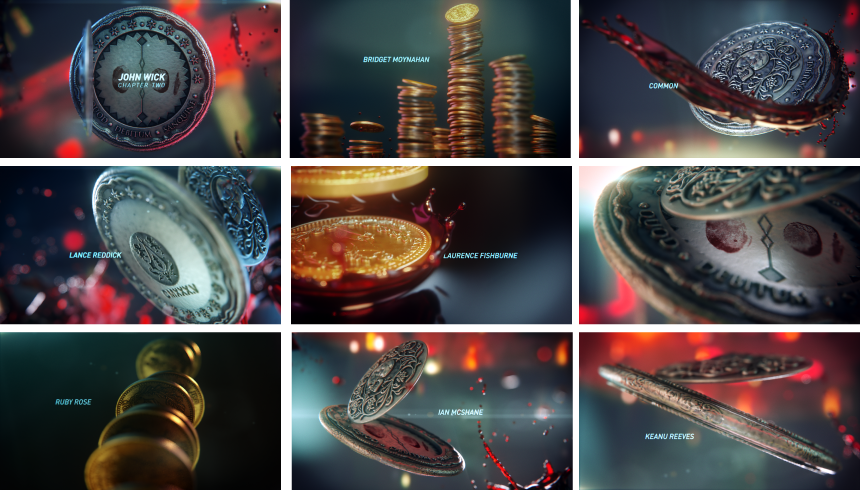
I run a small design and animation boutique called Black Book Studio. Most of the work I do is Direct to Client, but I sometimes partner up with other studios on projects that I wouldn’t normally have access to. Filmograph is one of those studios. They specialize in feature film work focusing on titles and VFX. Aaron Becker and Seth Kleinberg (Owners and EP and CD, respectively) are close friends of mine. They created the opening credits for the original John Wick movie. When it was time to work on the sequel Aaron, and Seth asked if I’d be interested in collaborating on it. I was a huge fan of the first film, so I was very excited to get the call. I worked on the design boards and we animated the final sequence together using Cinema 4D and Octane. The titles appear right after the intense action sequence at the start of the film. It was a great experience, and a lot of fun to work on.
What were the main challenges on this project?
The Director wanted us to work with CAD models of the marker and coins the assassins use in the movie. The initial direction was to create a montage showing blood on the objects leading up to the opening of the final marker which revealed the main title. We didn’t have the time needed to simulate CG liquid so we had to find creative ways to animate blood splattering. We ended up using morph targets to fake a single slow-motion splatter on one of the shots which worked out well.

Another problem we encountered is that the CAD models were unusable. The geometry was corrupted, so we had to call a favor from our friend Justin Reed who was able to run it through Z-Brush and clean up the geometry before I started work on the look development. Beyond that, it was just a matter of getting the right amount of grit and texture in the shaders. We did a few rounds with the director to make sure the coins and marker were ready for the big screen.

Are there particular challenges that HDR Light Studio helped to address?
Yes. John Wick 2 was one of the first animated projects I rendered with Octane. Up to that point, I had mainly used it for design boards and isolated 3D elements. We had a tight deadline on this one and I was looking for ways to cut down on render times. As anyone working in Octane knows, it can be incredibly fast when lighting with HDRI maps. Once you start adding in area lights the render times go up as you fight to eliminate the grain. I was looking for a way to add in custom highlights and reflections on the objects without adding in extra lights in my scene. HDR Light Studio was perfect for this. Not only was I able to bring in studio light reflections at the exact places I wanted them to reflect in the model, but I was also able to use plates from the movie as my foundation for the lighting setup. Meaning, I had colors and textures from the film spilling onto the coins and markers. Then I would add in lights on top of the images in HDR Light Studio to finesse the final look. It kept our render times low, grain wasn’t an issue and most importantly, the client was happy with the results.

Can you tell me the workflow you’d have to undertake if you didn’t have HDR Light Studio? What would be the process? What would take that time?
I would have to hunt for an HDRI that was close to what I needed. Then add in lights which introduce grain and other artifacts in the scene so I’d have had to crank the sampling up which means increased render times. I could probably take an HDRI into Photoshop to adjust the highlights, but I would lose the ability to have real-time feedback this way. Also, I love being able to click on where I want the highlight to hit on the model and having HDR Light Studio place my light in the exact location it needs to be on the map. Any other method would be trial and error.
How frequently do you use HDR Light Studio?
I just started using it on the John Wick 2 project. It’s something I’ve known about for a while but never got a chance to try out. When you work at bigger studios, it can be hard to convince management to buy you the tools you need. Now that I’m on my own I have the ability to invest in tools as I see fit. This one has been on my radar for a while, and John Wick 2 was the perfect project to use it in. I’ve used it on almost every project since.
What are the main benefits of HDR Light Studio for you?
It speeds up my workflow, especially when it comes to the look development and design phase. I can add a rim light by clicking on the area of the model that I want to be highlighted. Everything refreshes right away and I’m able to make changes quickly until I find the look I’m searching for. I love how quickly you can adjust the shape, color, and texture of the lights too. This can be difficult when using standard lights in most 3D packages.
Do you have any tips for anyone who is more of a traditional designer looking to get into 3D?
Yes, learn about film and photography first. 3D software, for the most part, is just emulating real life. If you know how to work a camera first, it’s easier to understand what you need out of the software. Come at it from a filmmaker’s point of view. Lighting principals are the same in the virtual world as it is in the real one.
As far as learning the software, there are a lot of tutorials available online. You can google just about anything, and I’m sure someone took the time to record a tutorial for it. I would recommend giving yourself small projects to figure out. Then look for tutorials that help you accomplish that particular project. That way you stay engaged on the task at hand while learning about the tool at the same time. I always hated when teachers would waste time telling us what each button on a menu did. It was super boring, and that information usually went out the other ear anyway. That’s what the manual is for. Give yourself small goals and stick to it. The more projects you finish, the more you’ll learn.
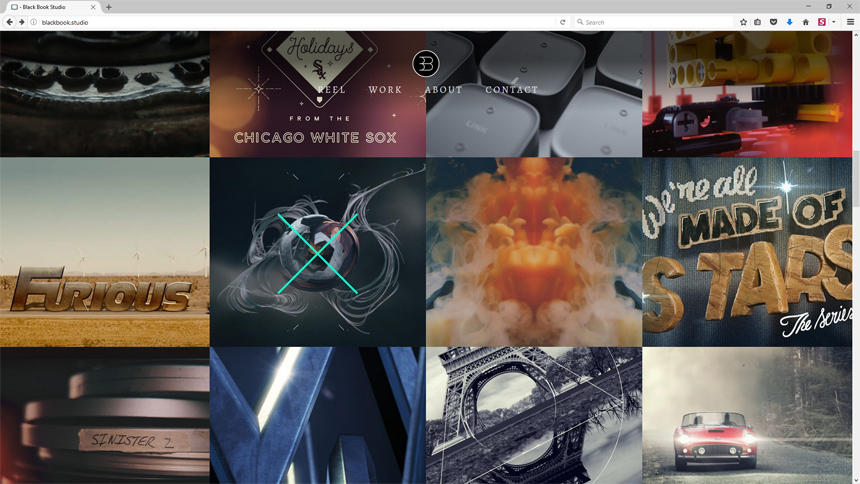
You can see more of Amador’s amazing work here at: www.blackbook.studio


