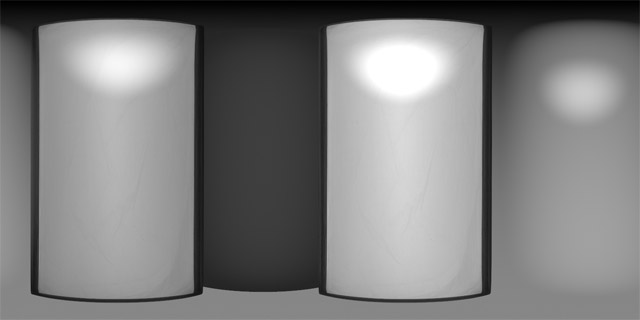
Simple shots benefit from perfect HDR lighting
A potential customer asked us if HDR Light Studio could help light his products to replace the expensive and time consuming photography they needed to do for their catalog. So we asked for an example model and had a play. This little video shows the step by step buildup of a studio lighting HDRI map created with HDR Light Studio. Even a very simple project like this can benefit hugely from creating a perfect custom HDRI map. HDR Light Studio is not just for cars and mobile phones!
Only a custom HDRI map made with HDR Light Studio can bring out the best in the subject matter like this by allowing infinite levels of adjustment to control the shot. If you purchase off the shelf maps or use found HDRI maps – then you will have to spend time testing out a lot of maps to find one that is anywhere near suitable. When you purchase HDR Light Studio you are in fact buying every HDRI map you will ever need to light amazing images. No more searching and testing!
The lighting was built up as follows:
1. Large soft box on the left
2. Large soft box on the right side that was a little less bright than the first
3. Place a dark area from the view point behind the soft boxes – this is where the camera is
4. Place a brighter area behind the product so it sits on the pure white background better
5. Add a hot spot on the top of the left hand soft box to create a nice highlight on the wood
6. Do the same on the right
7. Place one final soft light behind the scene to reflect in the top surface of the wood and lift this area a little
That’s it – just 7 well placed lights in total!


